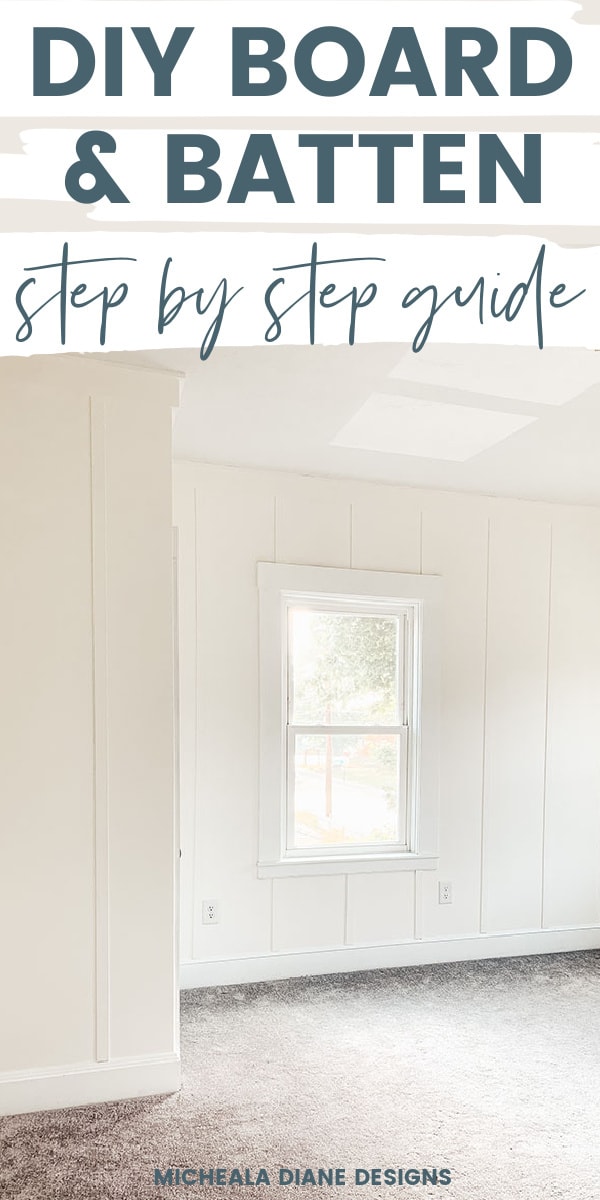
Floor to Ceiling Board and Batten
Today I am sharing an easy budget-friendly tutorial on how to create beautiful floor to ceiling board and batten. Keep reading for a step by step guide on how you can too!
We are underway on getting our nursery complete for our first baby. If you missed it we shared all our design plans for the gender neutral nursery in this post. The first project on our list was to add floor to ceiling board and batten. We did a similar detail in our home office and loved how it turned out.
Many of you asked for a tutorial on how to achieve a floor to ceiling look. This is perfect for a statement wall, as well as full room application. I love that it adds interest and character to our neutral room. Below are step by step instructions on how you can achieve this look yourself.
Floor to Ceiling Board and Batten
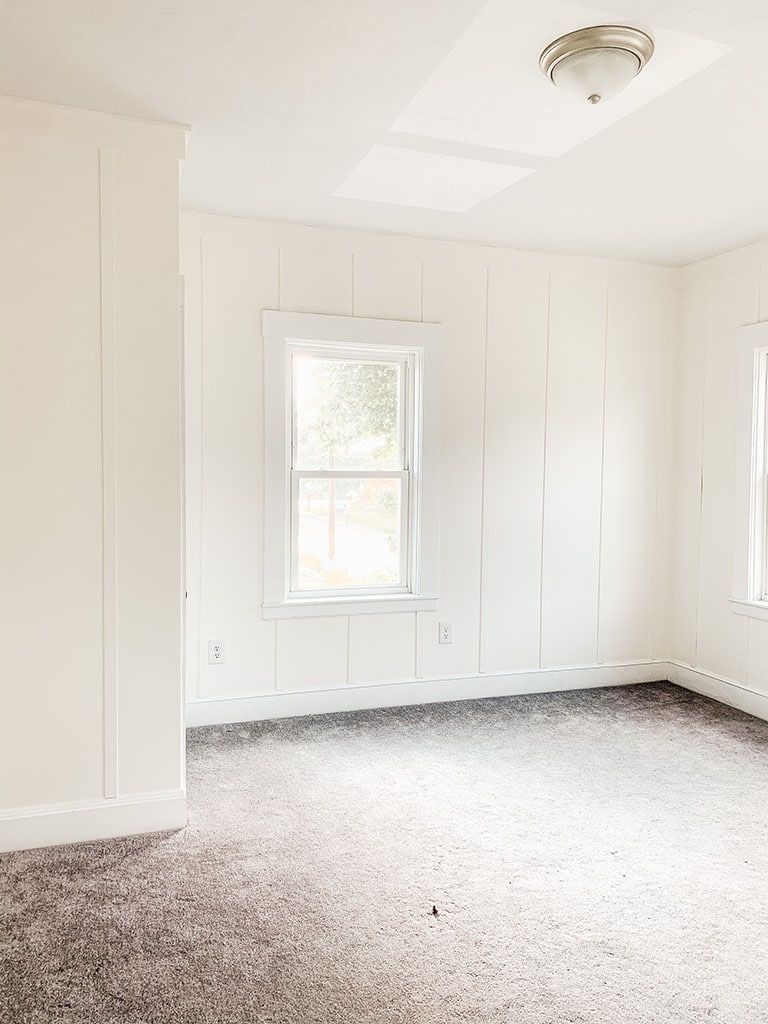
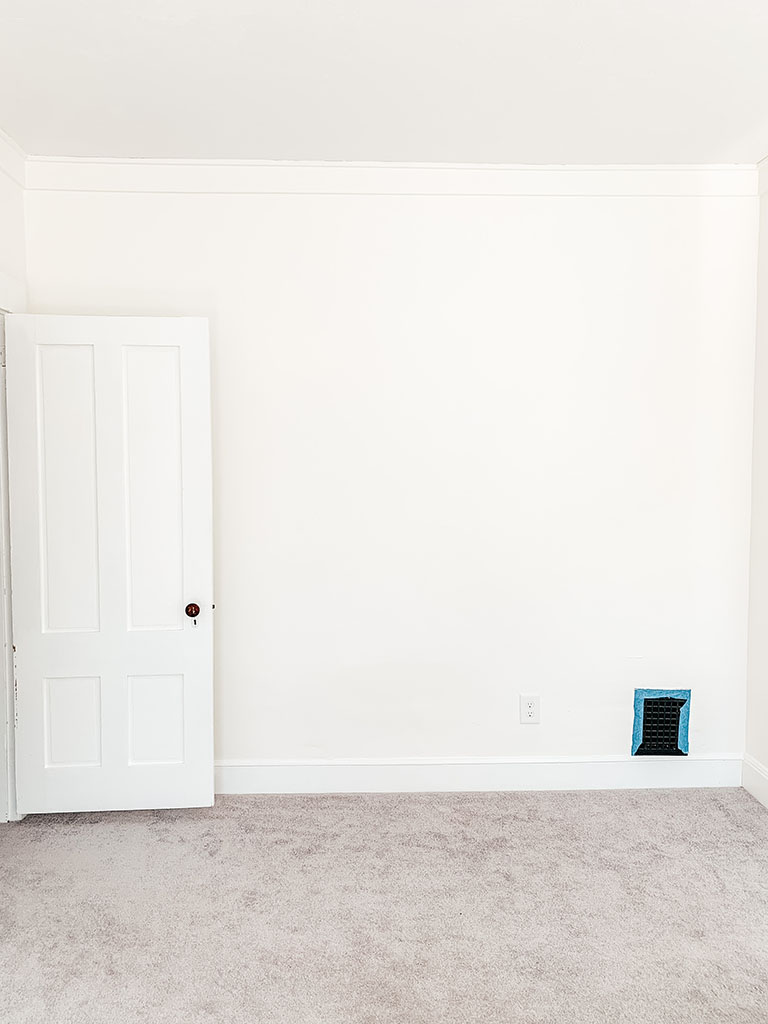
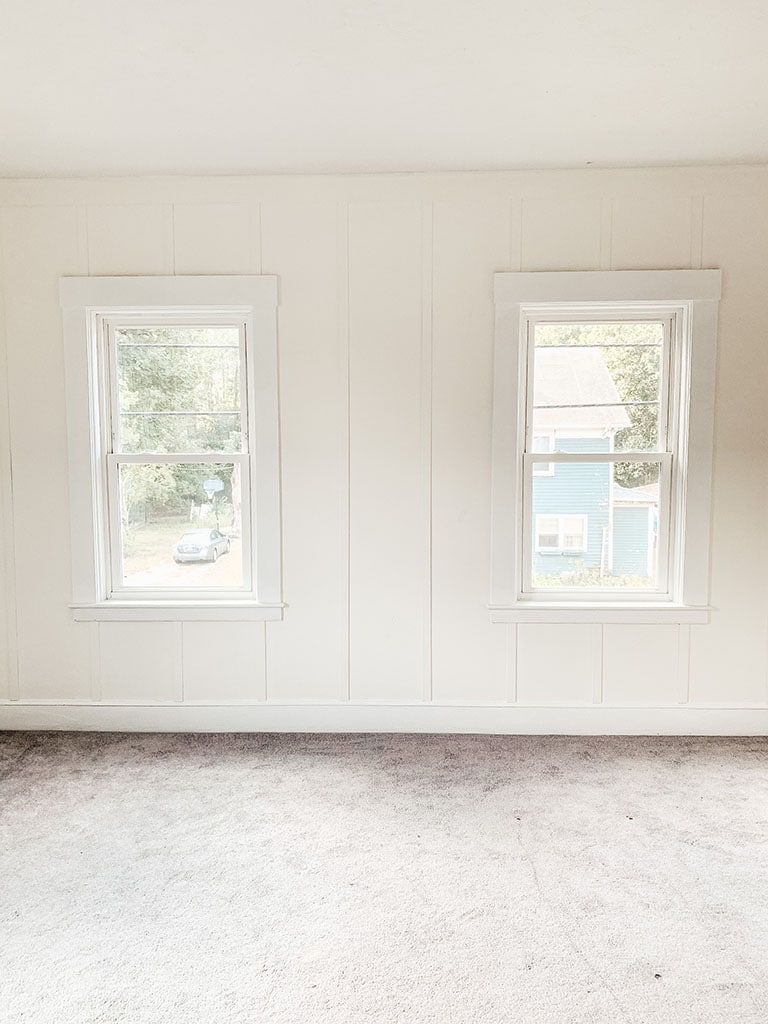
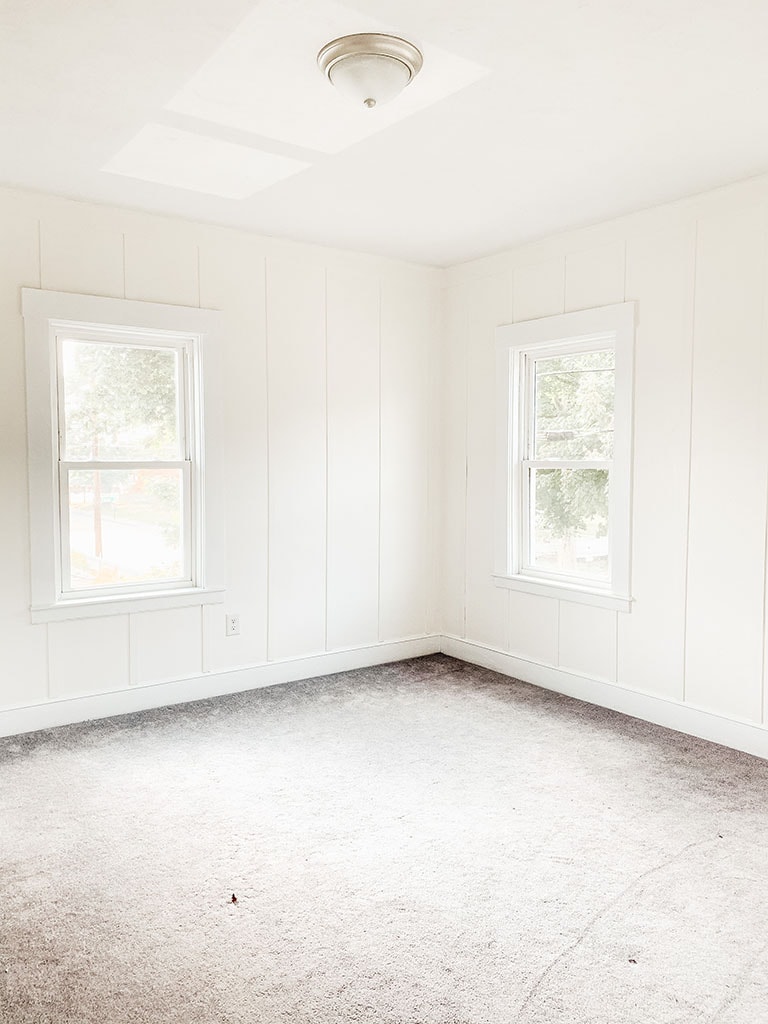
Before

Material List:
“Affiliate links provided for your convenience, please read my disclosure for more information.”
Amounts will vary depending on how big your room is.
We purchased the majority of the items from Home Depot. I highly recommend ordering from this list online and picking it all up in-store or having it delivered. This saves so much time. We had our material delivered right to our door.
- 1/4 in. x 1-11/16 in. x 96 in. Pine Lattice Moulding
- 11/16 in. x 11/16 in. x 96 in. Pine Square Moulding
- 1 x 5 Common Board
- Finish Nails
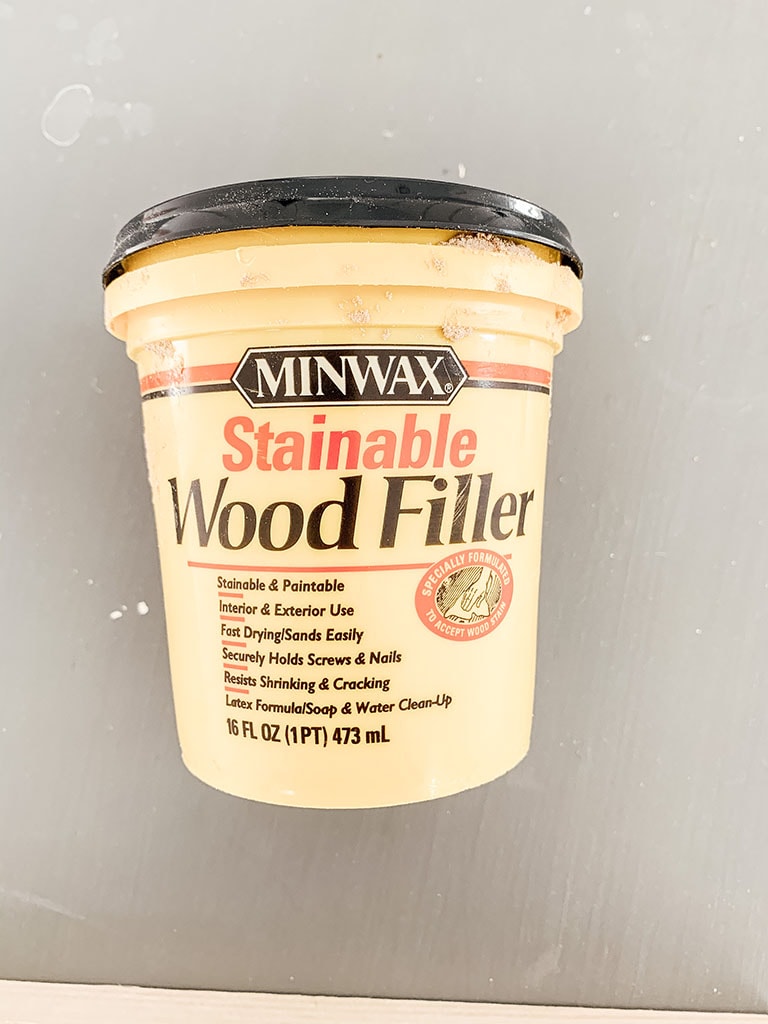
- Wood Filler
- Caulk
- Primer
- Paint: We went with Benjamin Moore Simply White
Tools Required:
Related: The Best Tools for DIY’ers
Step One: Measure Your Space
The first step is to measure your space. Take a measurement of the length and height of each wall that you will be applying the board and batten too. Once you have those measurements you can begin deciding exactly how you want each wall to layout.
This is the most important step. It is not only going to help you decide on the spacing of each batten, but it also determines how much material you are going to need to purchase.
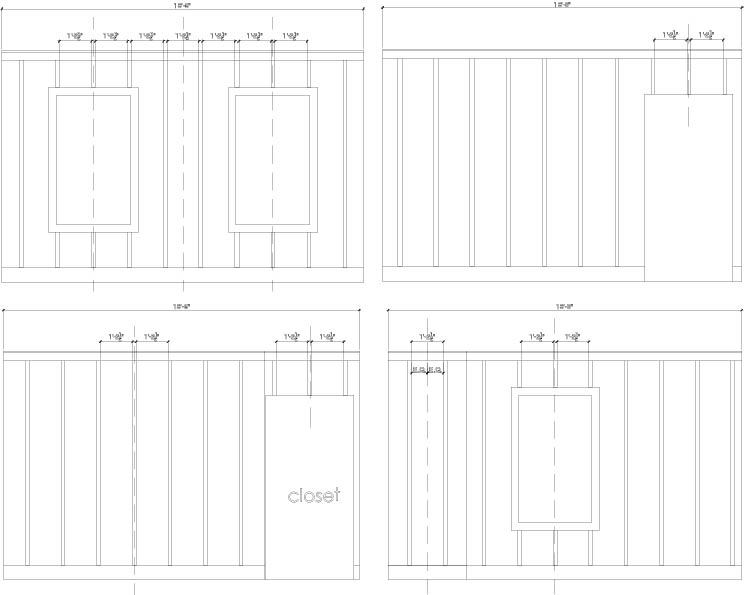
I personally like to have the battens centered on the doors and windows, so that visually everything is symmetrical. Then I take into consideration overall spacing on wall, outlet locations and where they would end once it got close to the corner of the wall.
After determining all of that the perfect spacing for our space was 14.5 inches. I have included the drawing below so that you can get an idea of how I approached each wall. You however do not have to go into this much detail if you don’t want to. You can easily sketch it out on paper.
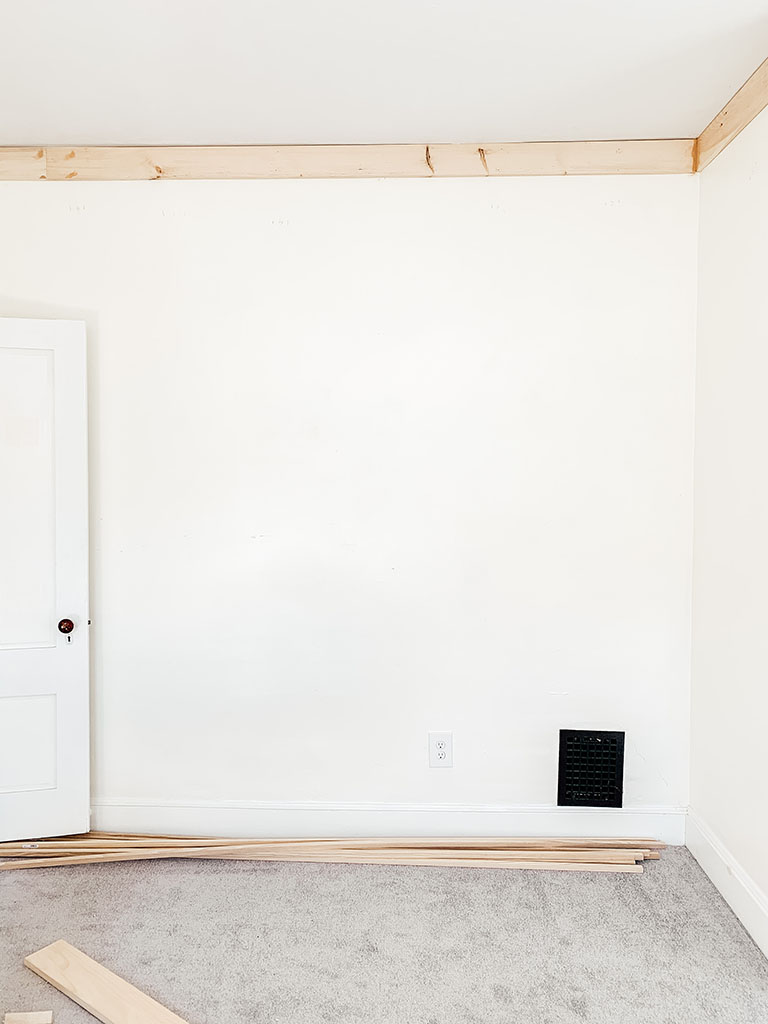
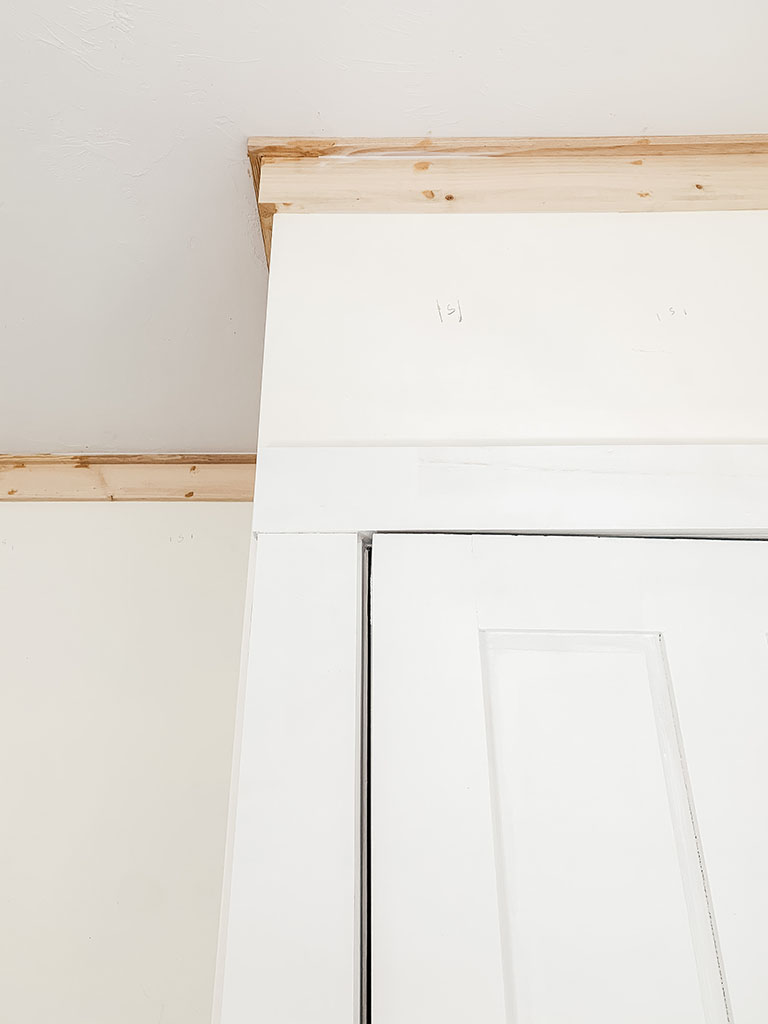
Step Two: Install Crown Molding
Step Three: Paint (optional)
This step is optional. We were waiting for the rest of our material to be delivered so we decided to paint the entire room and crown molding before we applied the battens. We did find however that it was easier to paint the wall beforehand because you are not trying to paint in between all the battens.
If you do decide to do it this way you will need to fill all the nail holes and gaps in the crown molding using wood filler and then sand flush. After that you will want to use a primer on the trim before you start to paint.
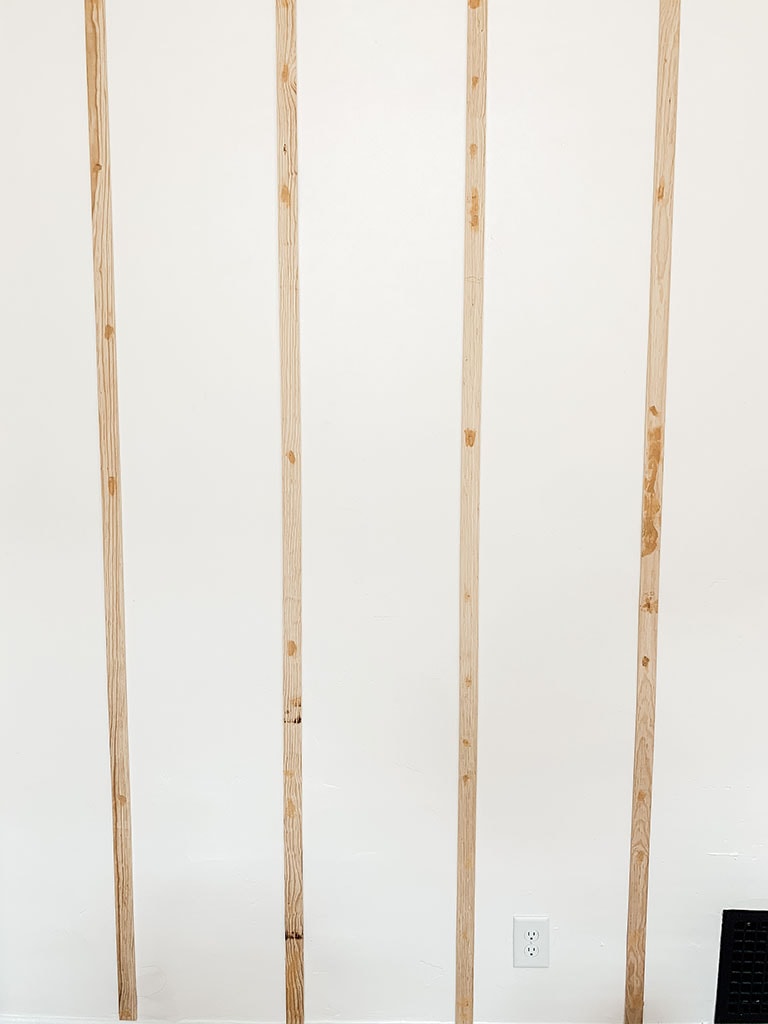
Step Four: Attach Battens
After your crown molding is installed, it is time to attach your vertical battens. This is when you need to go back to your design plan that you created in step two.
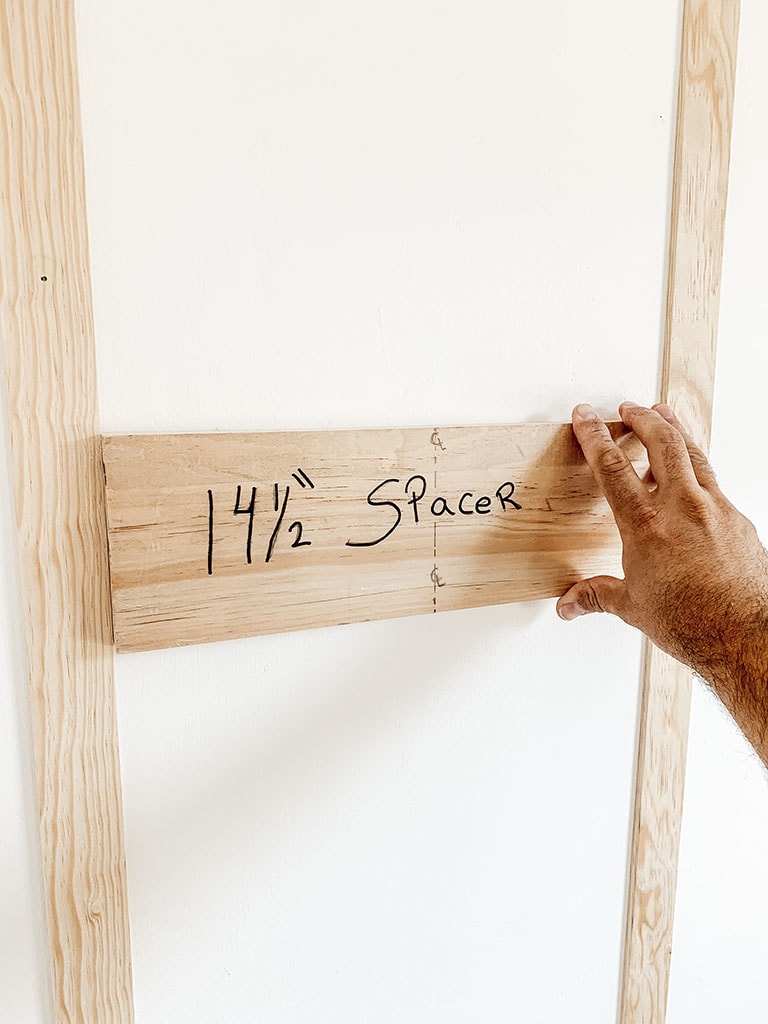
You should have already decided exactly where you want to start your battens on each wall and determined the spacing. The easiest way to space out your battens is to create a spacer using scrap wood. This allows you to quickly install the battens without having to measure each time. We decided to have our battens be 14.5 inches edge to edge so our spacer was exactly 14.5 inches.
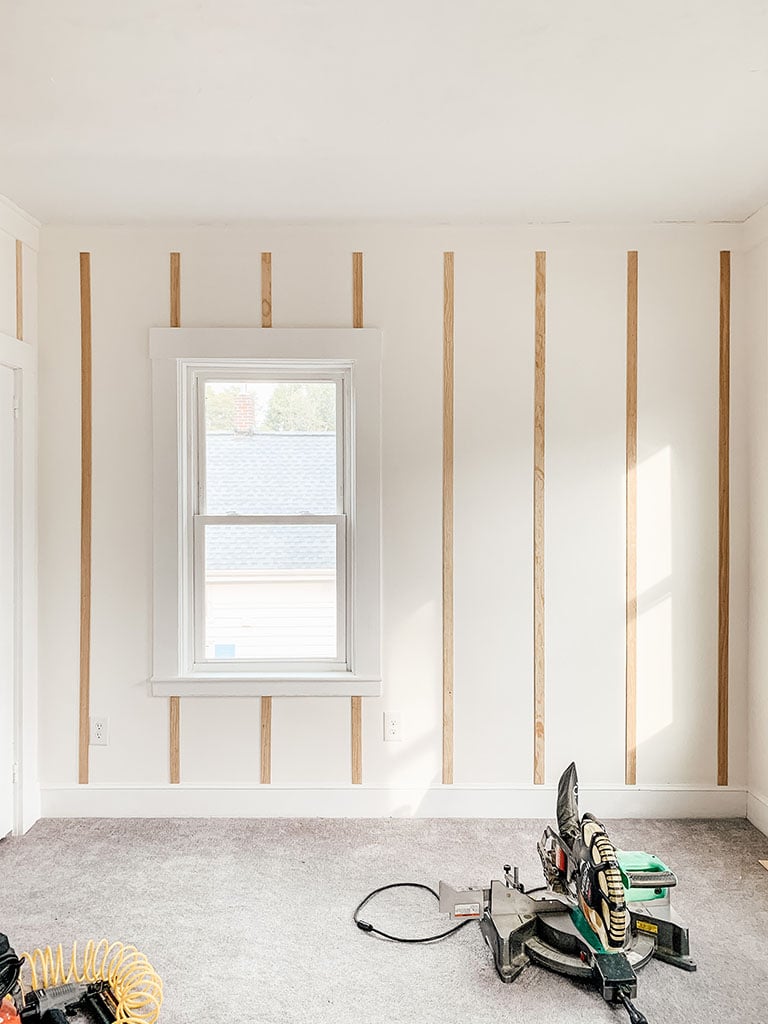
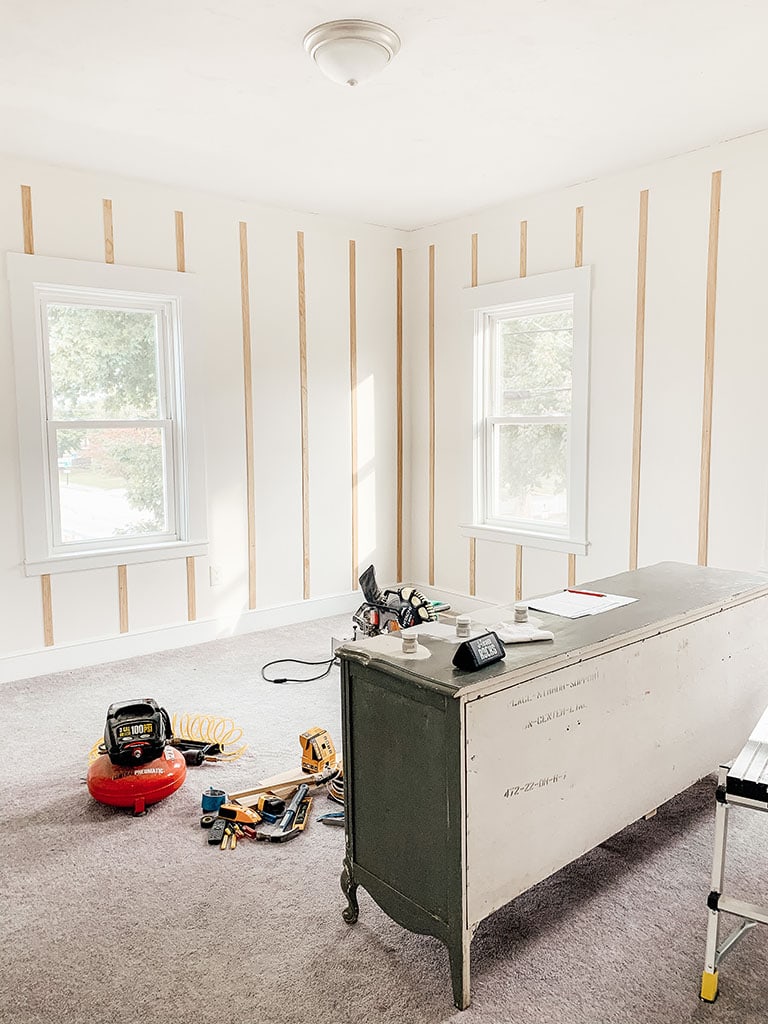
We started either at the center of the window, door, or wall depending on the design plan. After you cut your batten to size using your miter saw. You will want to make sure that each batten is level and then you will attach it using a nail gun with finish nails. We used about 5 nails per batten evenly spaced. Ensure that the batten is flush to the wall, add extra nails as needed to ensure a tight bond between the wood and wall.
Step Five : Fill Holes & Gaps
Next up is filling all the holes and gaps. To fill those small nail holes you can use wood filler leaving a bit extra over the nail holes.
One tip with wood filler is to not try and scrap the spackle flush with the surface. It will shrink a little and leave a small divot. Leave extra so that it can be sanded perfectly flush when it is dry.
There may be some gaps in the board and batten. You can take paintable window/trim caulk and fill any gaps in the molding. You do not need to do it on every edge just fill where needed.
Once the wood filler is dry, I recommend using a power hand sander to sand all fill flush.
Step Six : Prime & Paint
The last and final step is to paint. You will want to first start with a primer. We used Glidden pure white and painted one coat on all the battens.
After priming we used Benjamin Moore Simply White. All battens received 2 coats of paint using a hand brush.
If you didn’t paint walls earlier in the process you will also apply two coats using a roller to paint the wall in between the board and batten.
After
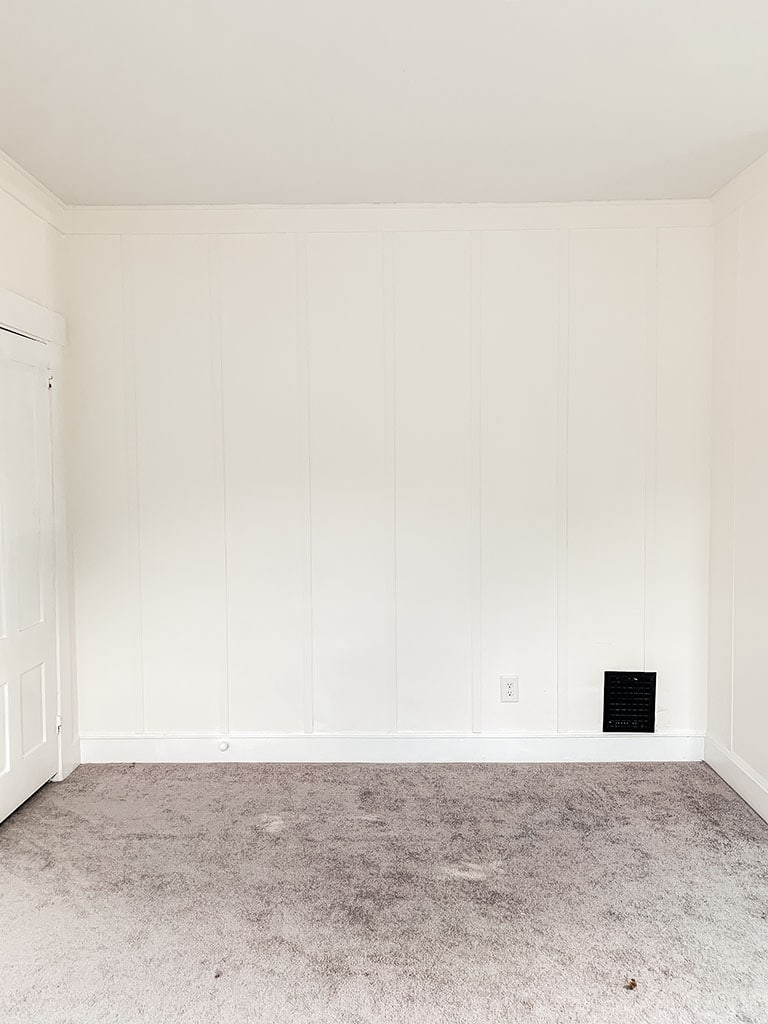
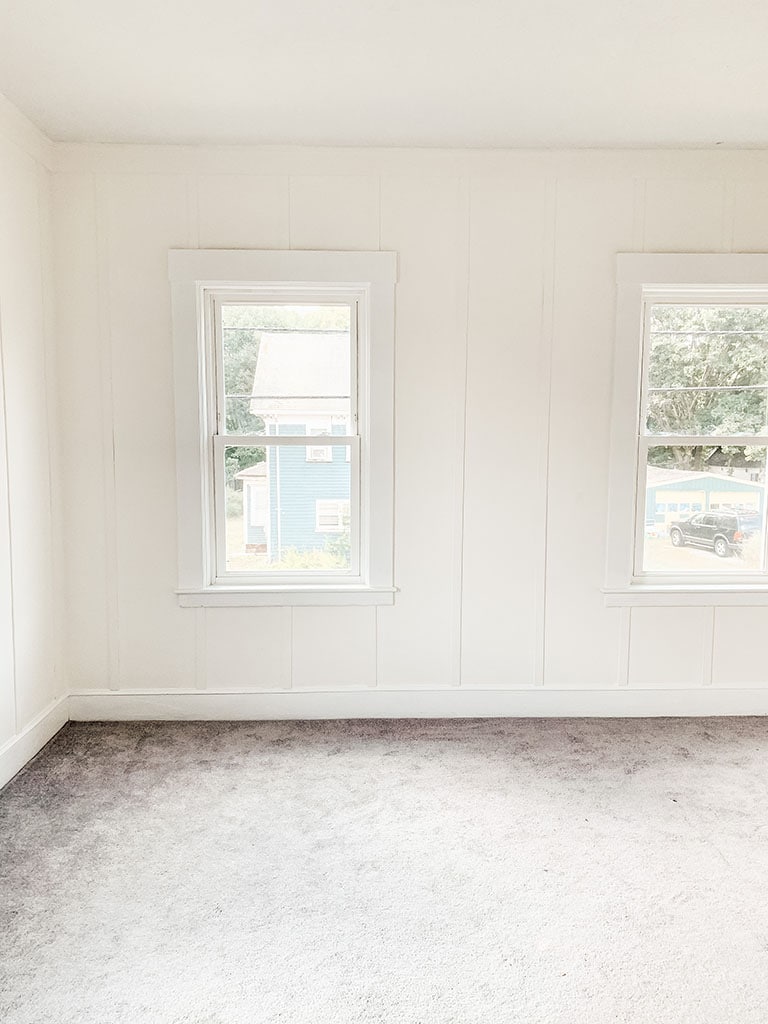
We are so excited to see how this room comes together and the floor to ceiling board and batten was the perfect start. If you have any questions about the tutorial please leave them in the comments.
What to Read Next:
Gender Neutral Nursery-Style Board
DIY Shiplap Electric Fireplace & Mantel
Want to save this for later? Post this Floor to Ceiling Board and Batten to your favorite Pinterest Board!

Simply beautiful!
Thank You
This is beautiful! My question: Do the vertical boards hand over the bottom trim at all? My wall already has nice baseboard trim and I’m trying to decide if I can keep that in place or need to remove it and install a new baseboard. Thanks!
Ours do not hang over the trim. This is why I use the 1/4 thick boards so that I do not have to modify my baseboards.
Love this and trying it in our home! How did you paint the battens once they were mounted without messing up the paint on the walls and making it streaky? Thanks!
Thank You! We didn’t have any issues with streaking, we just used a high-quality brush.
Any recommendations for the crown koing you did if I am planning a single feature wall application for the batten in our nursery. Do I need to do the crown molding for the whole room?
Hi Megan! I would just do the detail on the one wall.