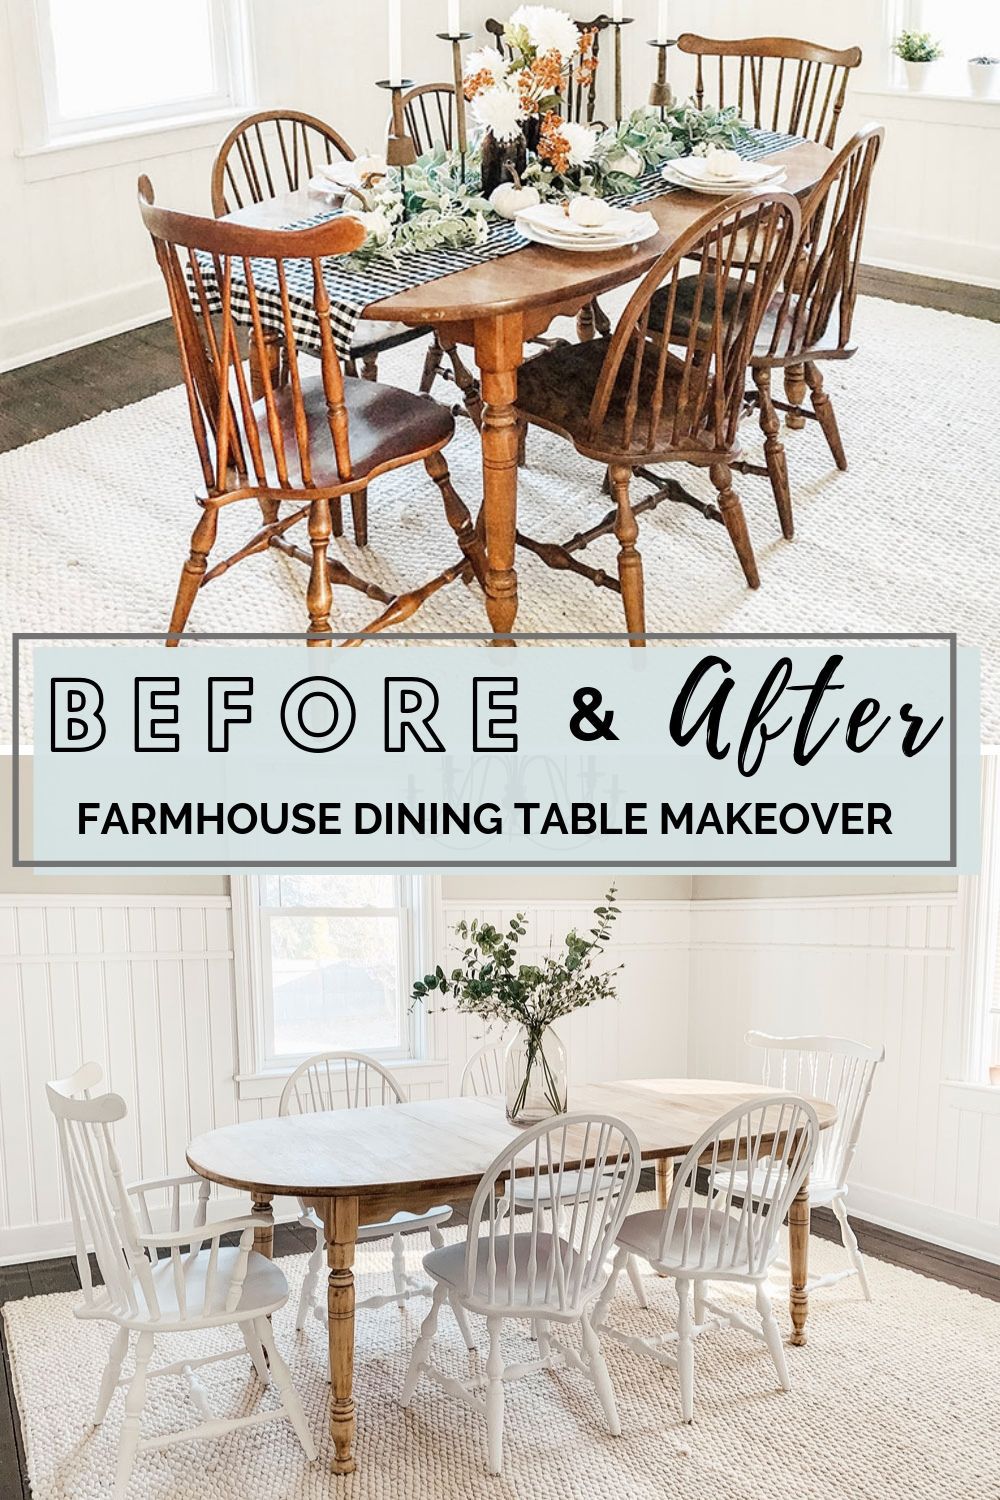
Today I am sharing how we took our outdated dining room set and transformed it into an updated farmhouse table. Follow this easy tutorial to give your outdated dining set a makeover!
I want to preface this tutorial by saying that we are not professionals, although we have refinished a few furniture pieces in our home. This is the first time we have done a dining table makeover. So if you are new to refinishing furniture, know that it does not have to be scary. This is an easy tutorial that anyone can do!
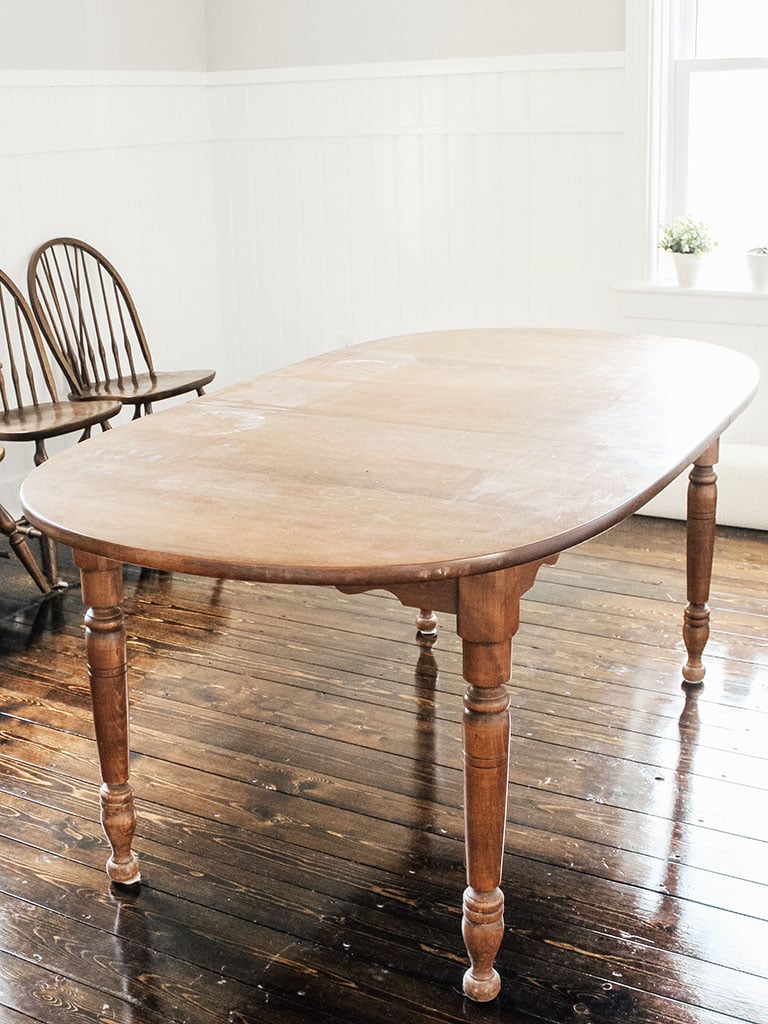
A little history on this table. We received this for FREE from a family friend when we first moved into our house. I was never a fan of the wood color, but it had good bones and I knew that we would be able to do something with it. Also I rarely ever turn away free furniture because you can always transform it. I loved the turned legs and it has 3 leaves so it is perfect for a lot of company.
Before
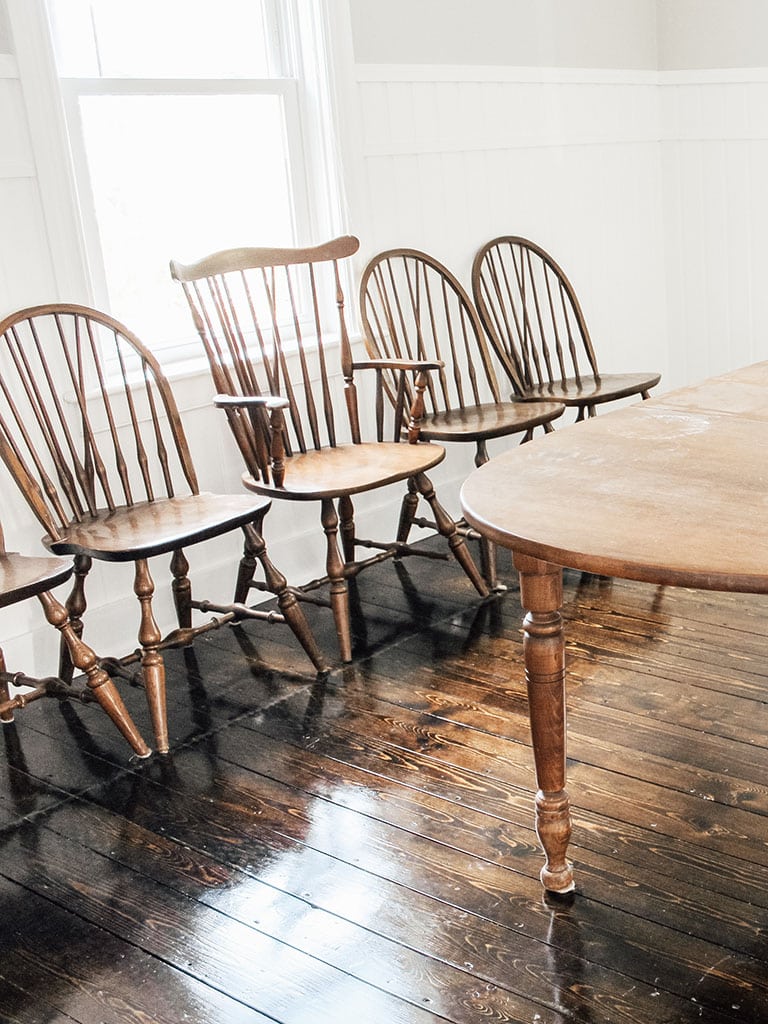
Before
You can find this style of table at your local thrift store, antique markets, Facebook Marketplace and craigslist. Be on the lookout because many times people are willing to give them away for next to nothing. I have a blog post on how to find the best antiques and my favorite shopping tips that you can read here.
Related: How To Find the Best Antiques & My Favorite Shopping Tips
Okay, let’s get to the fun part! For our dining table makeover, we updated both the table and the chairs. I am going to give you a step by step of how we did each project. If you are doing both that is great but if not you can follow along with the project that you are doing.
Below is a supply list of all the products we used to complete this makeover.
Supply List
“ Affiliate links provided for your convenience, please read my disclosure for more information.”
Dining Table
- Electric Sander
- 3 Inch Flat Paint Brush
- 3M 80 Grit Sandpaper
- 3M 100 Grit Sandpaper
- 3M 150 Grit Sandpaper
- 3M 220 Grit Sandpaper
Dining Chairs
- Rust-Oleum Chalk Paint Linen White
- Professional Chalk Paint and Wax Paint Brush
- 3M 150 Grit Sandpaper
- 3 Inch Flat Paint Brush
Table Makeover Tutorial
There are a couple of different ways to get the finish off of a wood piece. Are go-to is usually to use Citristrip Paint & Varnish Stripping Gel. This strips off stains, paints, lacquers, varnishes and so on. This time it didn’t work as well as we thought it would. We put a couple of coats on and it wasn’t taking the red color off the wood. So we had to go with plan B.
Step One:
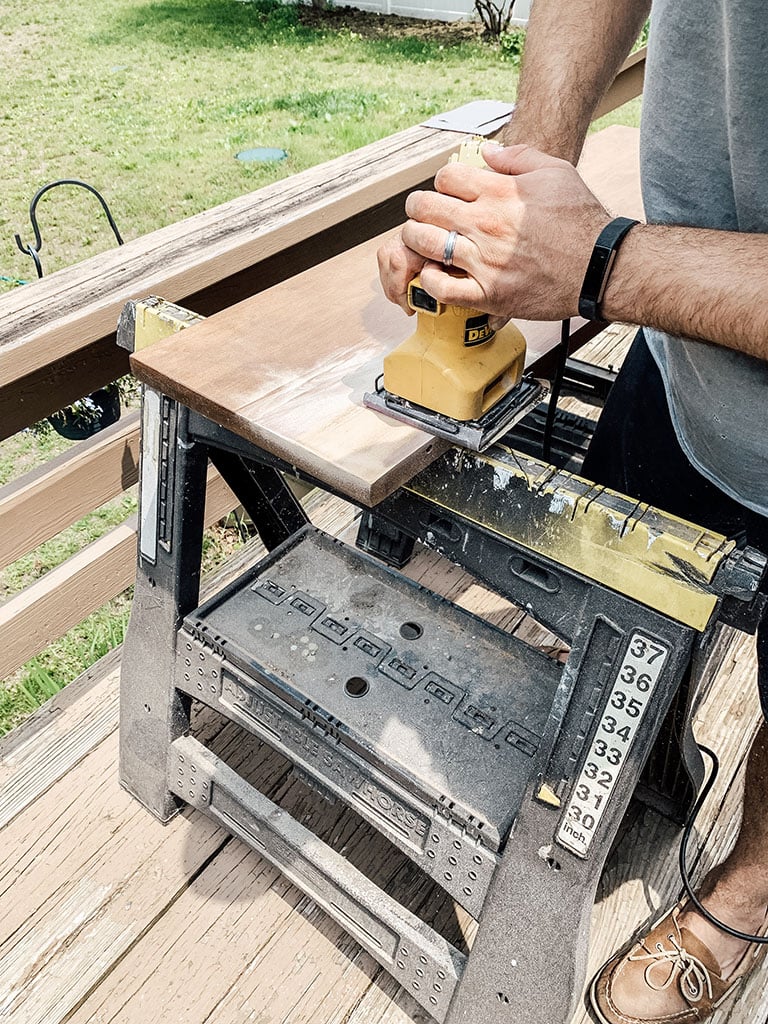
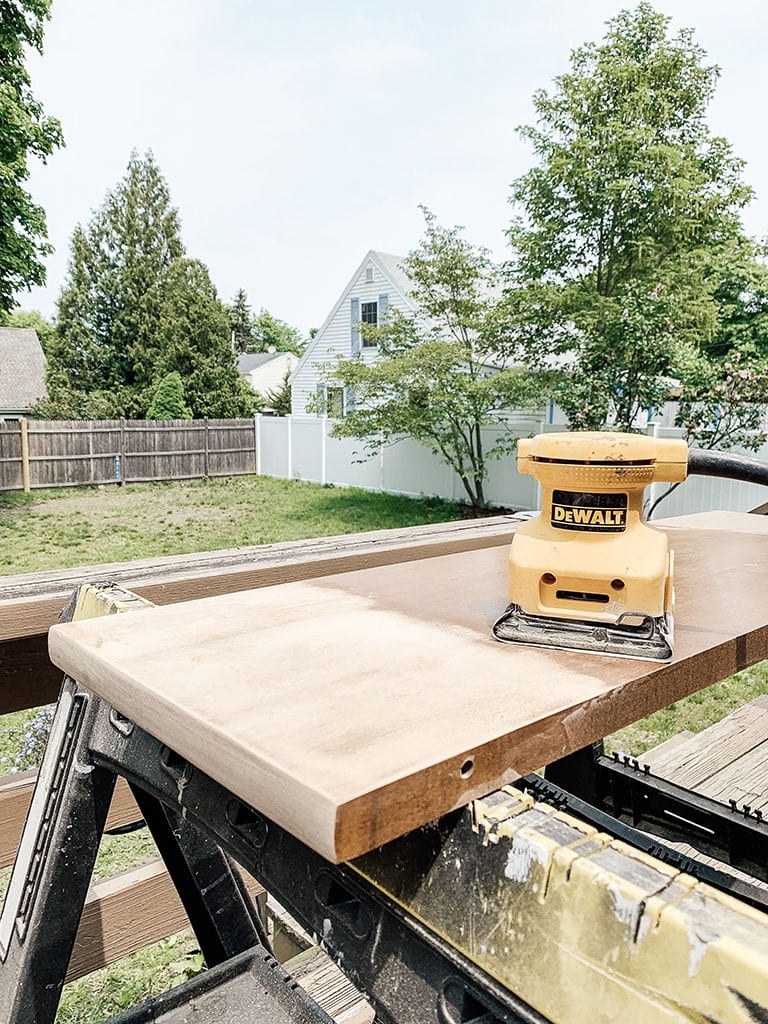
Plan B was to sand the existing finish off of the table. We used an electric orbital sander and for the first pass, we used our roughest sandpaper ( 80 grit). Make sure when you are sanding to always go with the grain of the wood. This is very important , if you don’t you will have a rough finish.
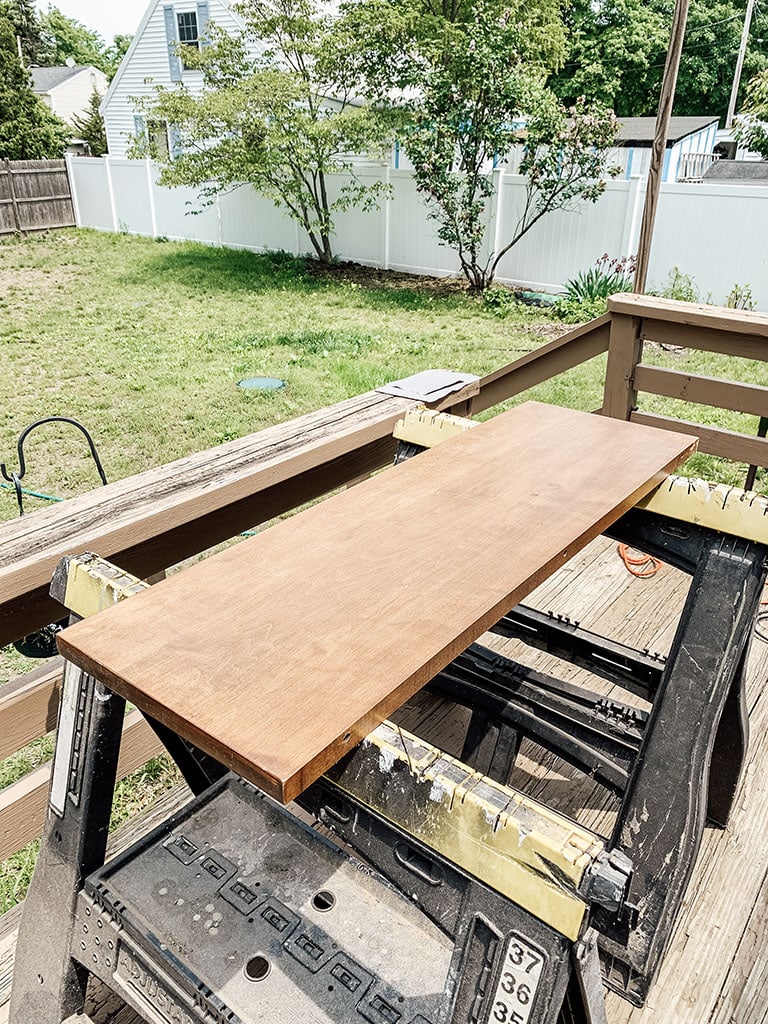
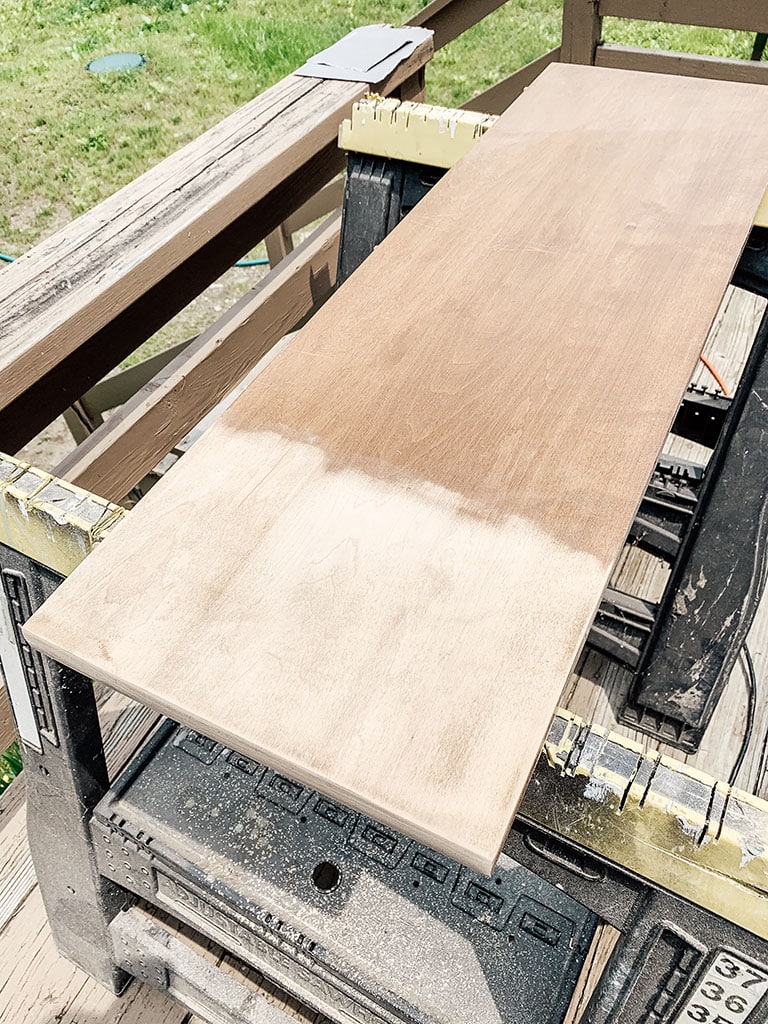
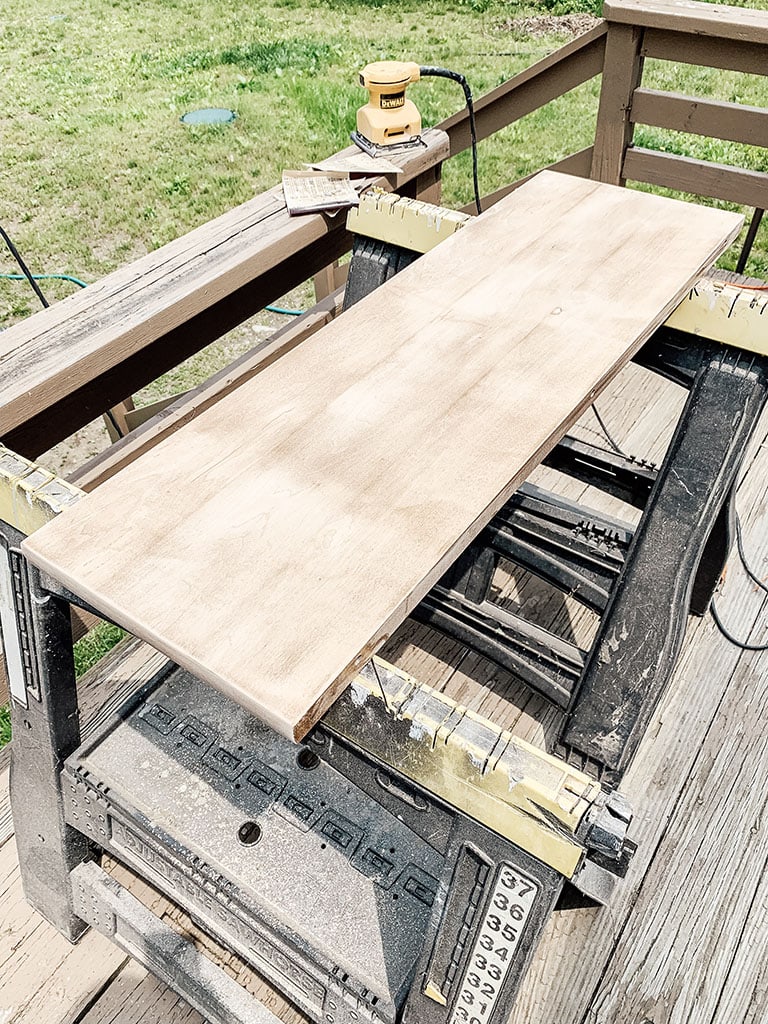
The first pass of the sander took off the first layer and removed all the red stain. Make sure to wipe off all the dust from sanding and then move on to the next grit of sandpaper. 100 grit, 150 grit and then the final 220 grit will give you a smooth finish. Continue wiping off the dust for each layer.
Before Sanding
After Sanding
Step Three:
After you sand the old finish off of your table you have a couple of options. You can stain it a color of your choice or you can leave it natural. We chose to leave it natural.
The next step is to seal it. I did not want to change the color of the natural finish, so after much research and recommendations, I used General Finishes Flat Out Flat Topcoat.
This finish provides a protective layer without changing the color. It mimics the look and feel of wax. I have to say I was very impressed and would recommend this over and over again. There was little to no change in the color of the table!
We followed the directions on the can and applied the finish with a 3 Inch Flat Paint Brush.
We applied 3 coats as recommended and waited 2 hours between each coat to allow for proper drying. It is also recommended that you sand between coats with a fine-grade (220-320) foam sanding pad to improve smoothness and adhesion.
One tip when using this product is to make sure you are not leaving white streaks. I read that it will stay white. We were cautious about this and had no issues.
Chalk Paint Chair Makeover Tutorial
Step One:
We started by giving the chairs a good wipe down to make sure that there was no dirt, grease or dust. This step is very important for any piece of furniture you plan on painting.
Step Two:
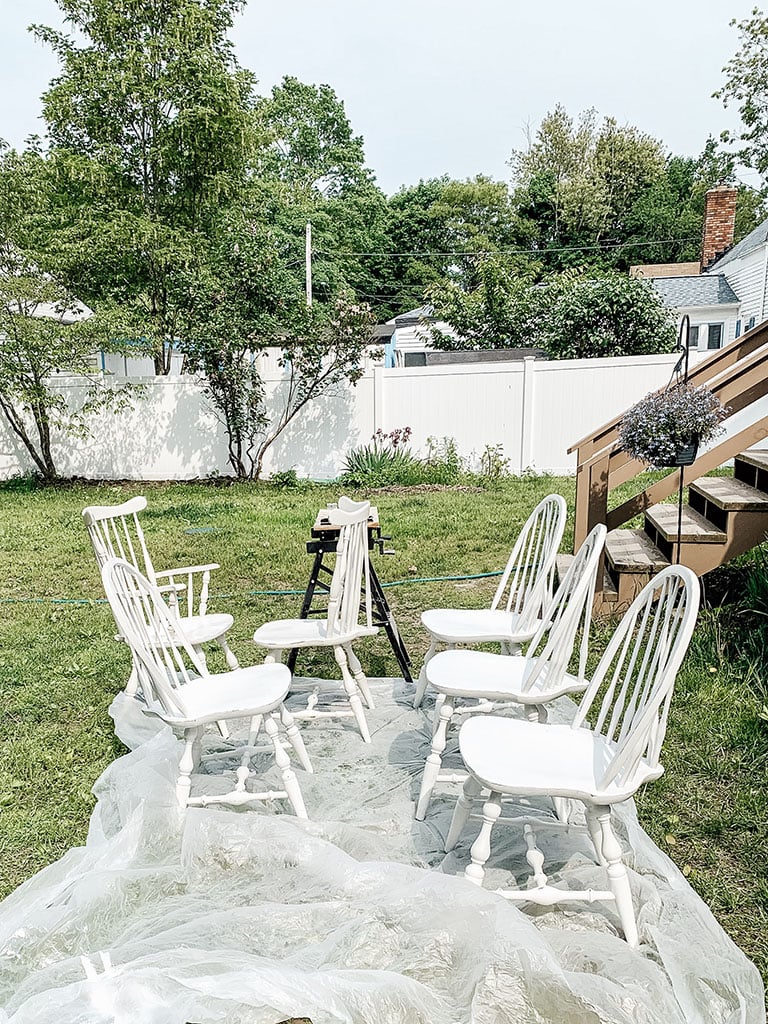
We chose to use Rust-Oleum chalk paint for this project because you do not need to sand ahead of time and it is easy to use and dries to a smooth matte finish. It’s also the perfect paint to use if you plan on distressing your piece.
I went back and forth between doing white or black chairs, but we ultimately decided to go with Linen White and I love it!
We followed the directions on the back of the paint can and ended up doing two coats of the chalk paint using this chalk paint brush.
Just a little tip chalk paint is thicker than what you might be used to, a little paint will go a long way. I recommend dipping just the tip of your brush into the paint rather than dunking in the whole thing. You will want to wait 30 min between coats. I love that it drys so fast.
I will say that painting all these spindles was a pain in the you know what, but it was worth it.
Step Three: (optional)
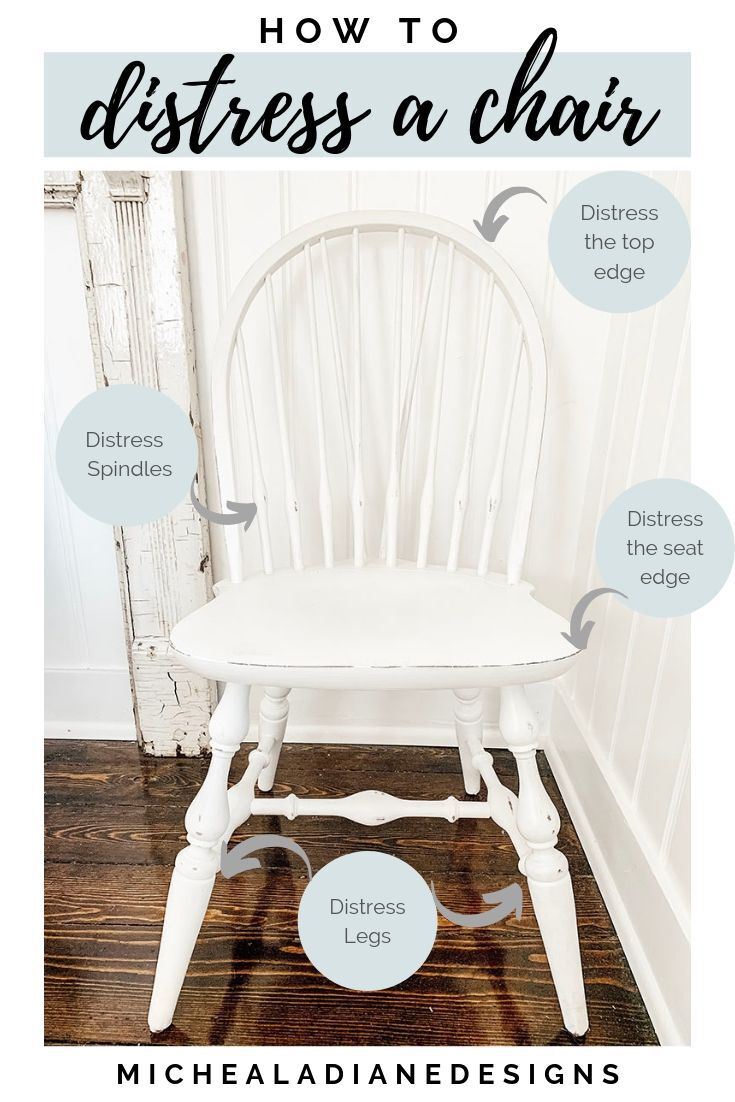
After your chairs have dried for at least 2 hours ( we may have waited 5 months, don’t tell anyone) you can distress them for a vintage look. I wanted to do a light distressing for these chairs just so that they didn’t look brand new and gave a little farmhouse vibe. You can distress your chairs as much or a little as you want.
I used 3M 150 Grit Sandpaper to distress my chairs. You can use anything from 100-400 depending on how light you want to distress. I used what I had on hand and it worked out fine ?
Here are a few tips if you have never done any distressing.
- The general rule when distressing is to sand on sections that would naturally receive wear and tear over time. Think corners, edges, tops, and decorative details.
- I took a picture of my chair before I painted it and matched the same distressing as the natural wear and tear that the chairs had. This made it easy and more realistic.
- Less is always more when it comes to distressing. Start light and you can always distress more if you like.
Step Four:
The last and final step is to seal your chairs with a protective coat. This is not necessary with all chalk paint projects but because we will be sitting on these and they will be getting a lot of traffic.
Make sure that you clean off your chairs with a slightly damp rag to remove any of the dust from distressing.
Once the chairs dried we applied one coat of my favorite furniture sealer, Minwax Polycrylic Protective Finish Satin , using a flat 3″ paint brush.
This has been the best option I have found for not turning your white chalk paint yellow. You do however have to be careful because if you use too much it will build up and turn yellow in those spots.
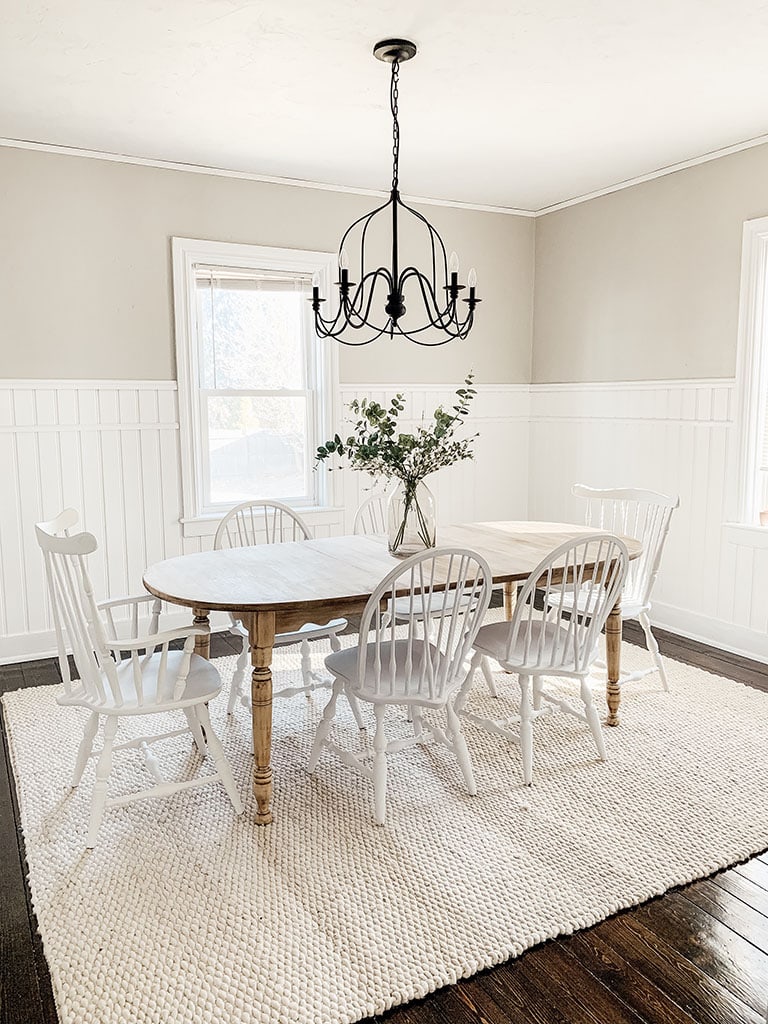
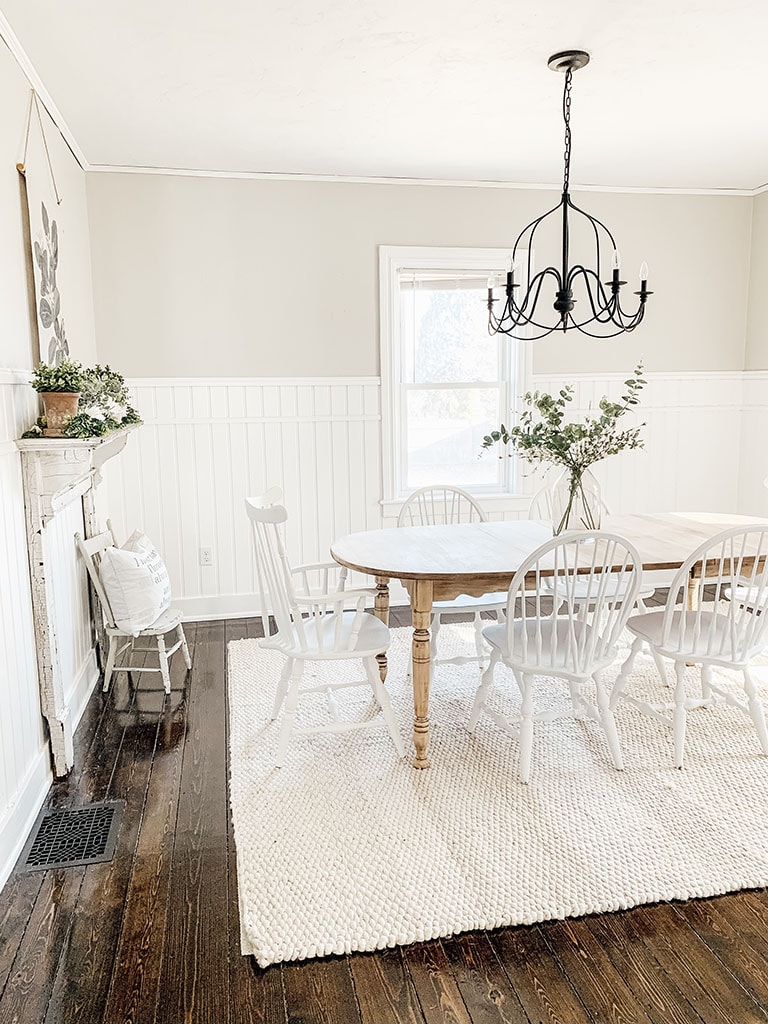
Here is the final look! We are so happy with how it came out. It is exactly how I envisioned it and It feels like we have a whole new dining table.
I hope you enjoyed this dining table makeover and that it encourages you to tackle making over the outdated furniture that you have in your home. If you have any questions please leave them in the comments. If you decide to makeover your table please share with me over on social media. You can tag me on Instagram or Facebook. Thank you for stopping by the blog ❤
What to Read Next:
DIY Farmhouse Style Drop Cloth Curtains- 2 Ways
Want to save this for later? Post this DIY Dining Table Makeover to your favorite Pinterest Board!



Lynn says
You’ve made it simple to understand with step by step instructions. You are so good at what you do. Thank you so much!
Danielle says
I love your dinning room rug! Where did you get it?
michealadianedesigns says
Thank You! Here is the link
https://rstyle.me/cz-n/djkaigcmdq7
cara says
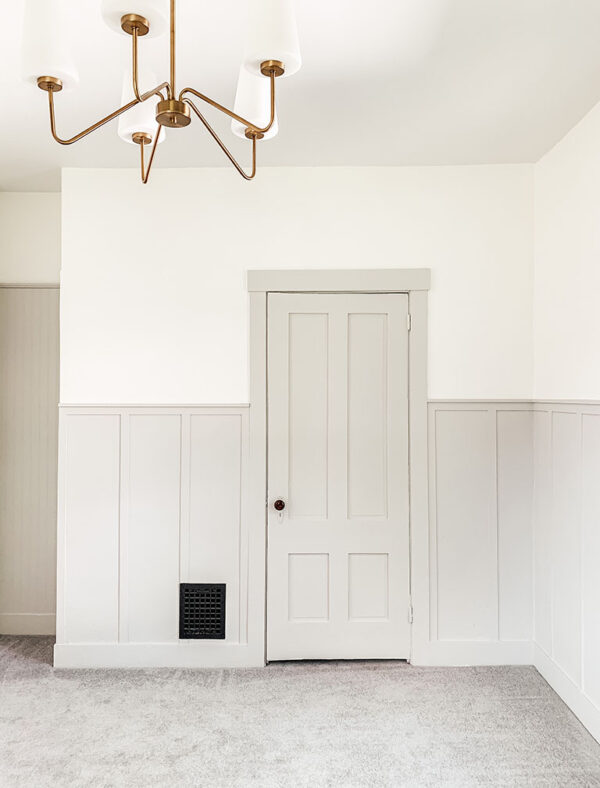
I’d love to know what color your wall and wainscott are?
michealadianedesigns says
Hi Cara! I share all the paint colors in my home here: https://michealadianedesigns.com/neutral-paint-colors/