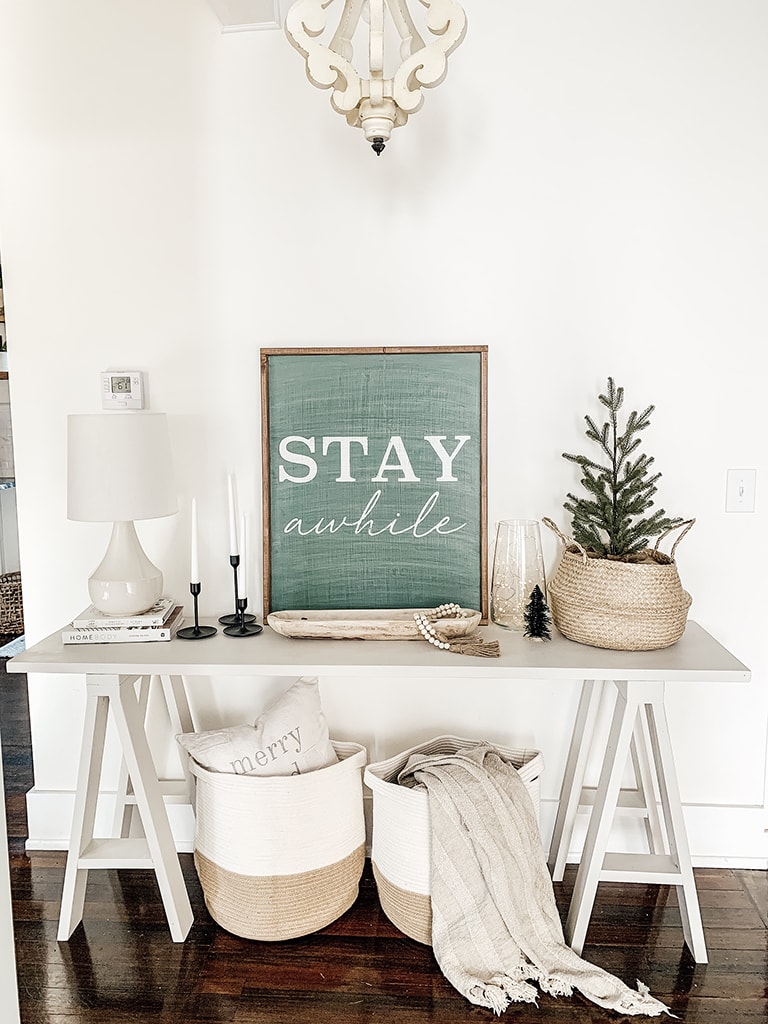
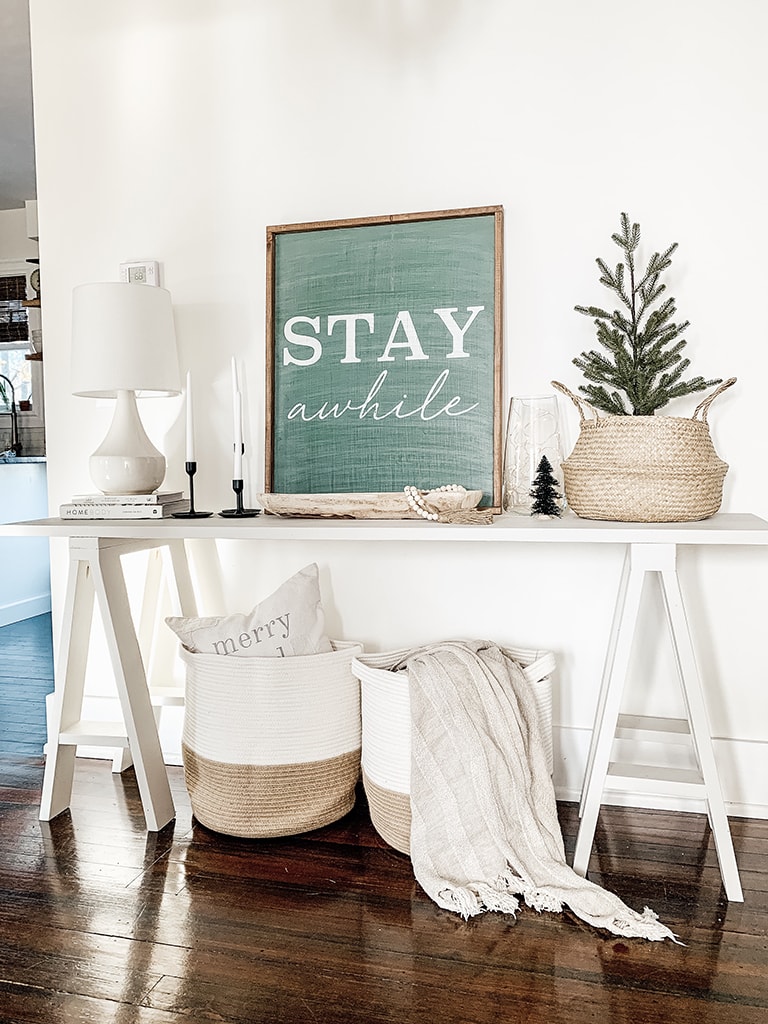
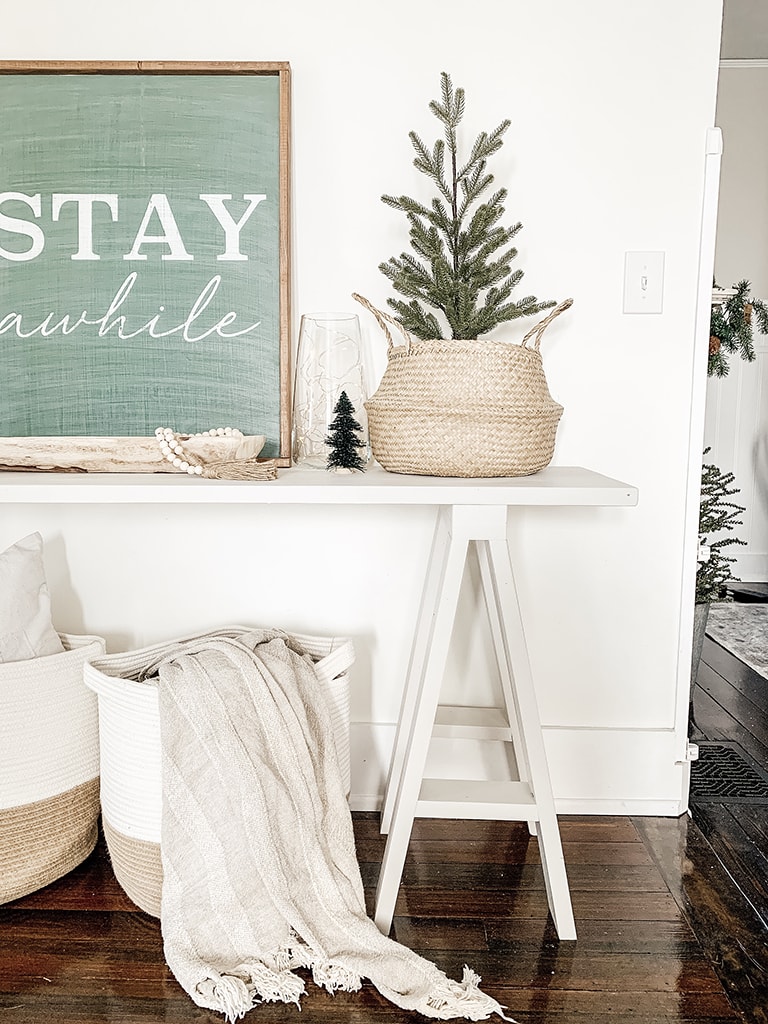
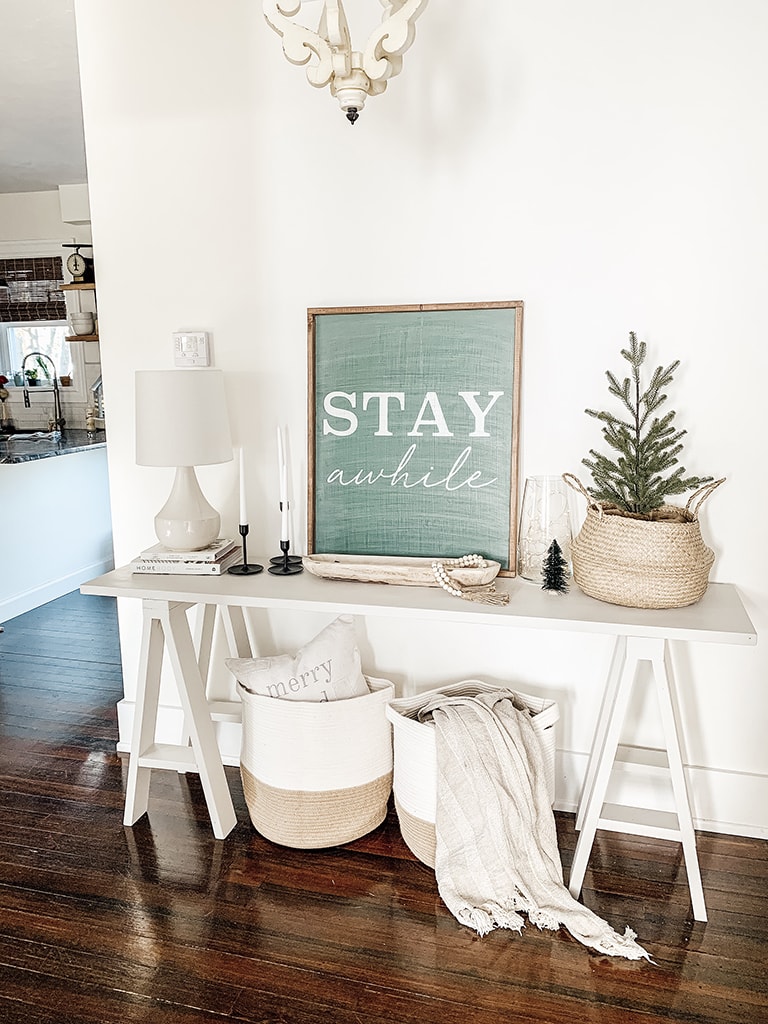
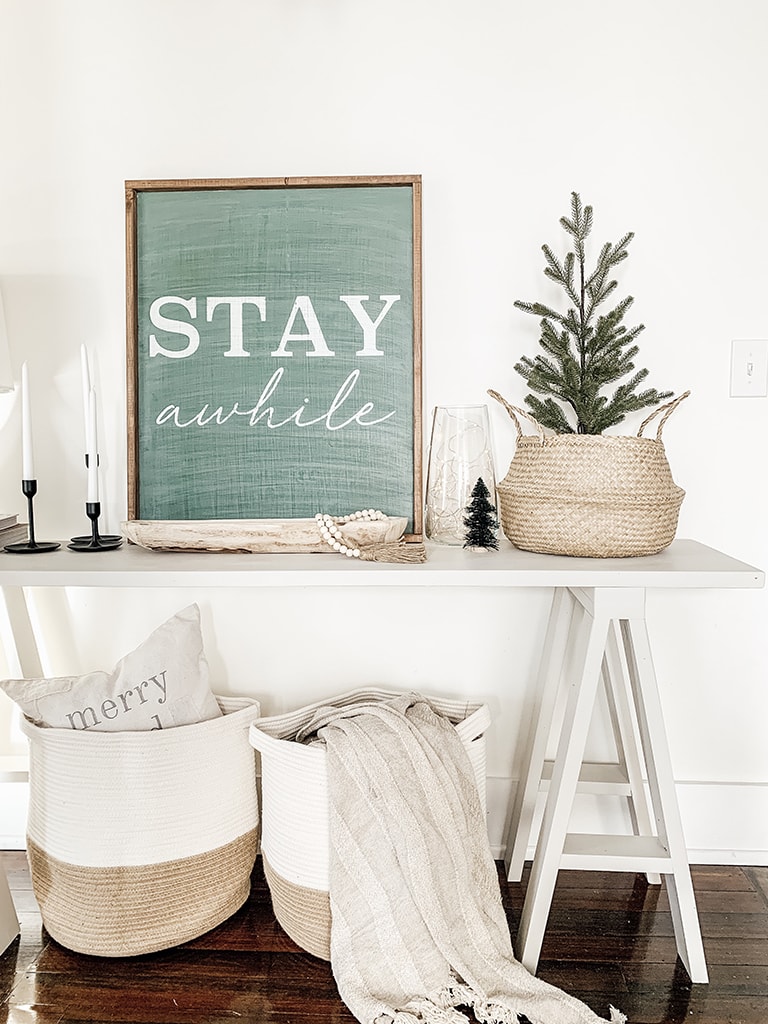
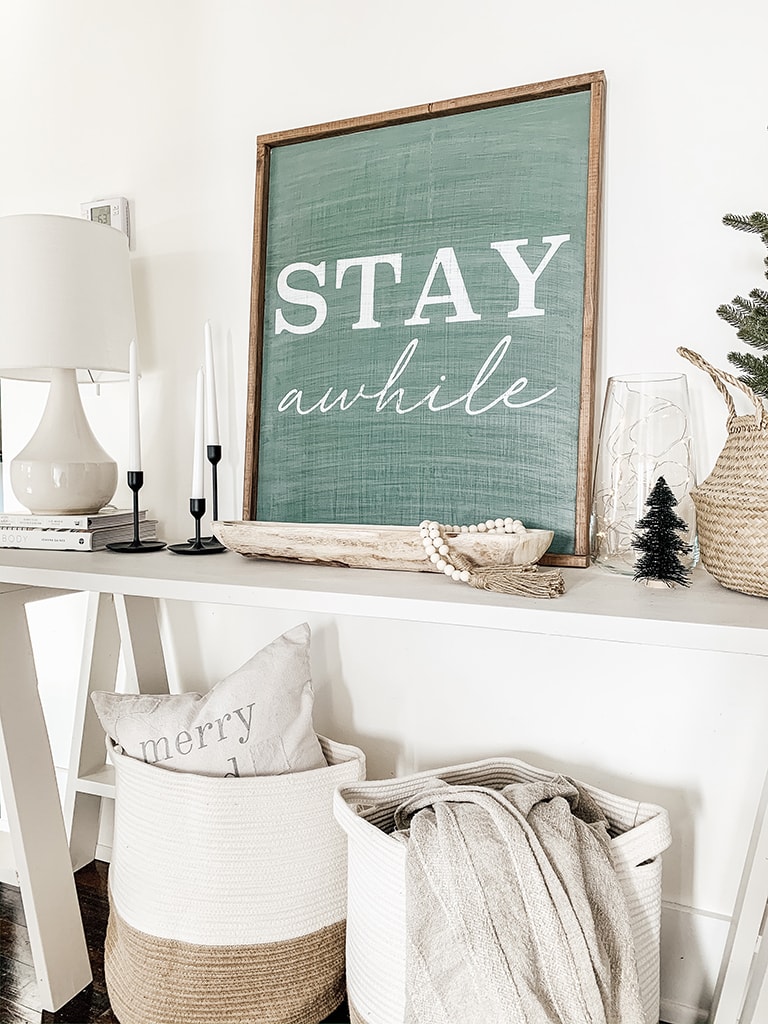
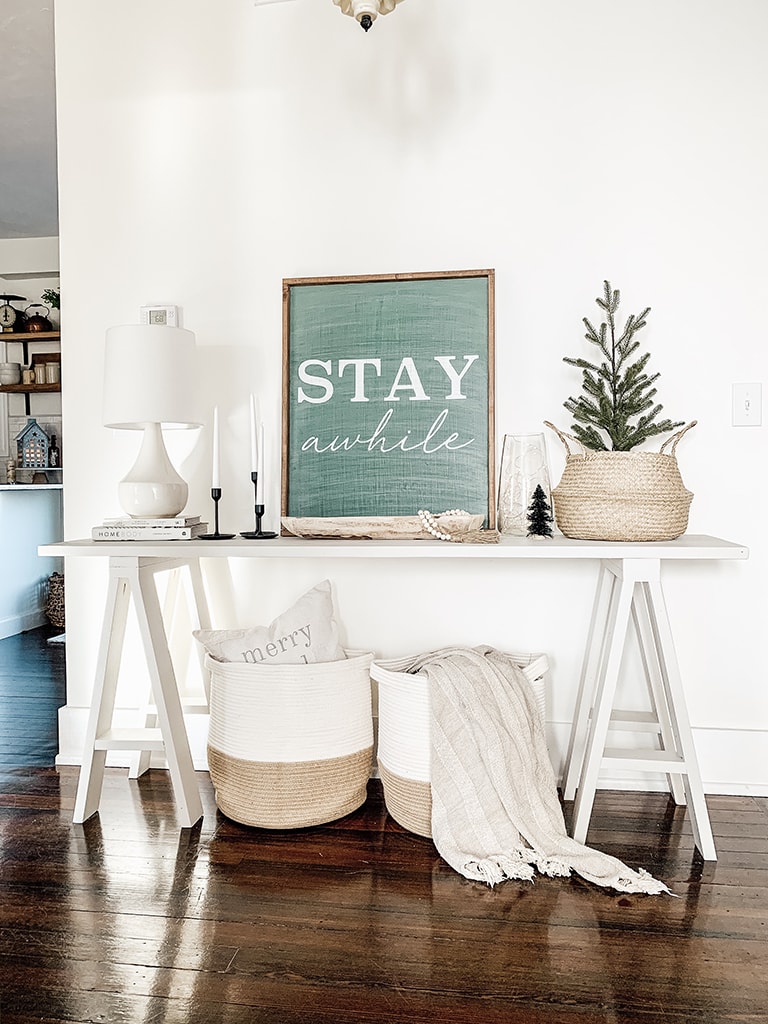
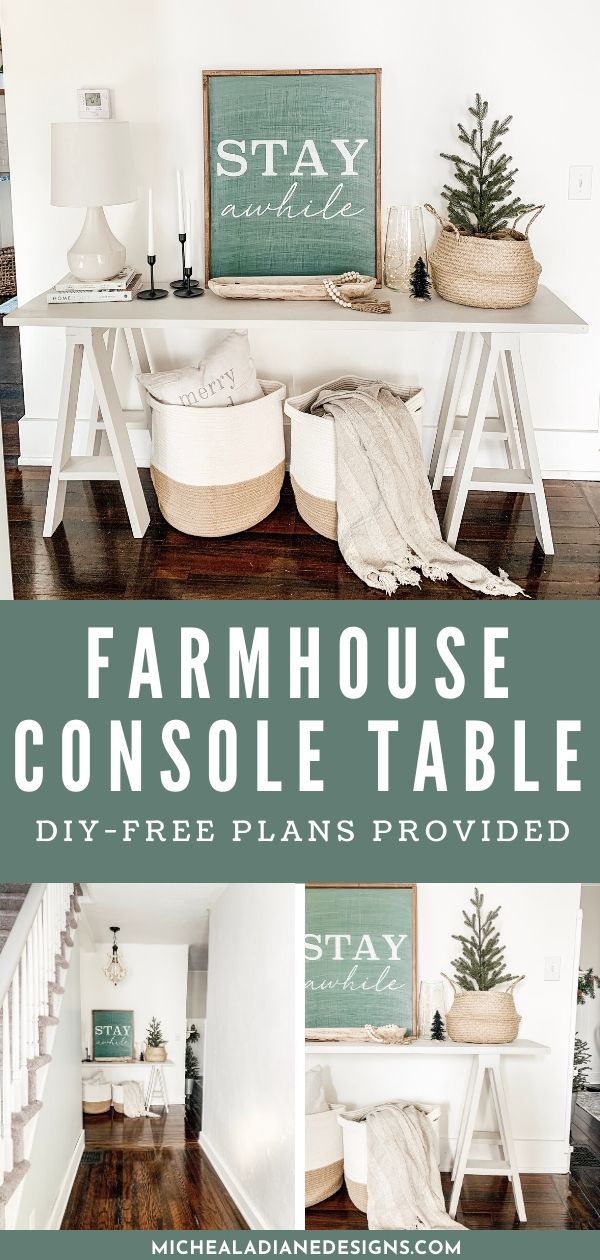
Today I am sharing our festive farmhouse entryway and our new DIY console table. You can shop this look at the end of the post!
DIY Console Table
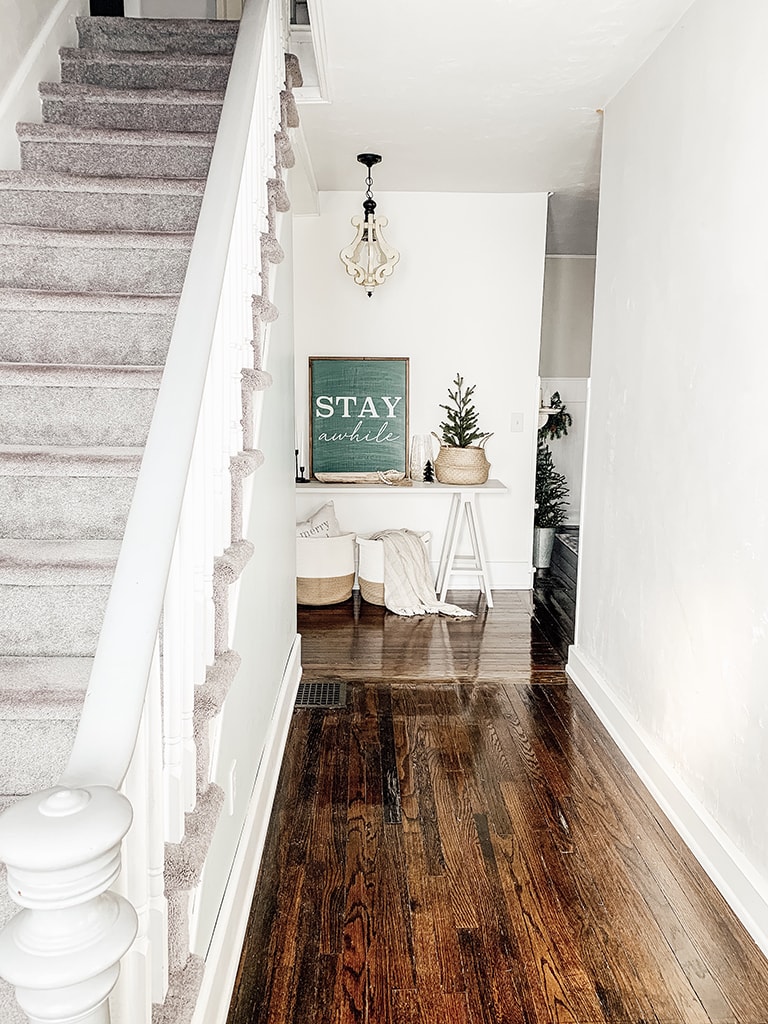
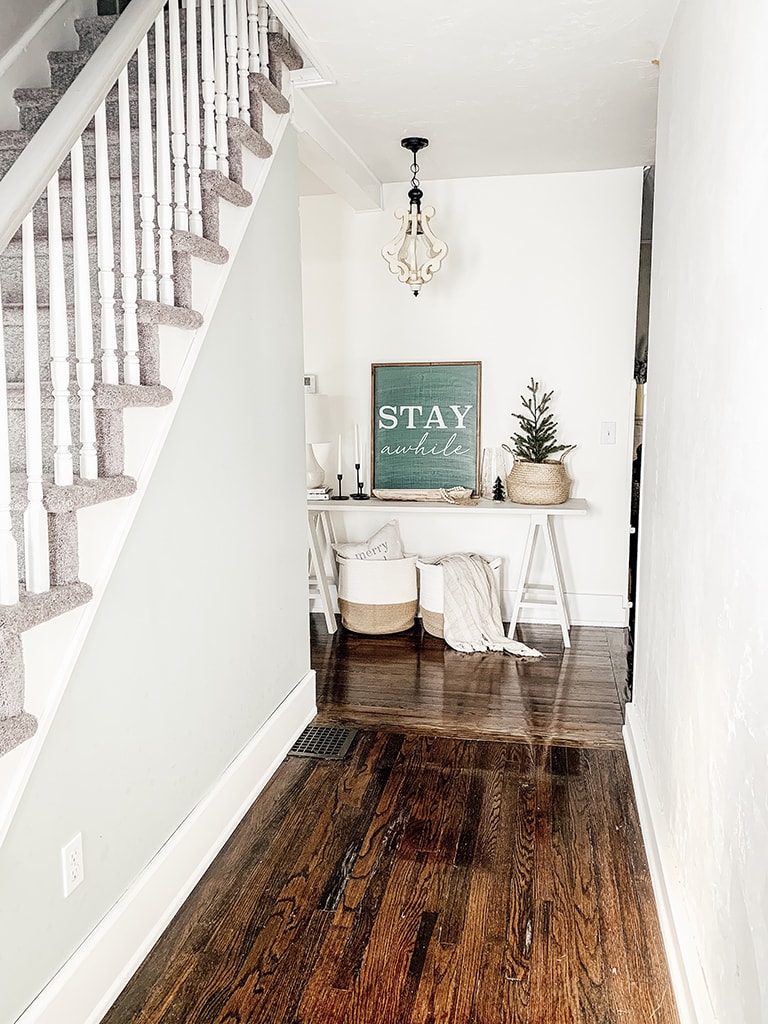
I have been wanting to update our entry for a while now. It is the first thing you see when you come into our house and I was not loving how it looked. I knew I wanted to add a console table because it is a great landing spot for keys and extra storage.
I started my hunt for the perfect console table and wasn’t having the best luck. Sometimes you find the perfect piece right away. And other times you search endlessly and end up feeling defeated. Not the greatest feeling.
So my husband suggested we build our own. I was a little skeptical, but we broke out the power tools and made our own DIY Console Table.
I am so happy with how it came out and it makes for a simple project that can be completed in a weekend. All it took was a few power tools and some wood.
Psst… Want to follow the exact steps we used?
I created an easy to read, printer-friendly console table plans with a complete step-by-step guide. It includes a list of supplies and exact dimensions. Just enter your email below to have the free plans sent right to your inbox!
Below are the supply list and a basic step by step. Be sure to download the supplies list, free plans, and full tutorial. “ Affiliate links provided for your convenience, please read my disclosure for more information.”
Tools and Materials
Lumber : Qty (3) 2″x 6″x 8′
Lumber: Qty (4) 2″ x 4″ x 8′
Paint Brush
Sand Paper
Primer
Favorite Paint Color ( We used Agreeable Gray by Sherwin Williams
For more DIYs and home improvement, ideas, check out this DIY Page.
Step One: Measure & Cut
We started by cutting all of our wood to the appropriate size. Here is what your final wood quantities should be.
- (3) 2″ x 6″ x 72″ pieces [ Table Top]
- (4) 2″ x 4″ x 16.5″ pieces [ Table Top Braces]
- (8) 2″ x 4″x 28″ pieces [ Table Legs] (These pieces need a beveled edge so that they sit properly)
- (4) 2″ x 4″ x 8″ pieces [ Table Leg Braces] (These pieces need a beveled edge so that they sit properly)
Step Two: Drill Holes For Screws
Table Top: Create pocket holes on the bottom side of the table top pieces in an alternating pattern. So that each piece of wood gets one screw on either side every 18”.
Line all three pieces of the [Table Top] up. Clamp 2 pieces of the table top together to level the wood between the joints as much as possible. As you start to join the pieces together with the pocket holes and screws.
Table Legs: Create the holes for the [Table Legs] and [Table Braces] on the bottom side of the piece so the holes will not be seen when the table is assembled.
Step Three: Sand All Parts
Sand all surfaces of all wood pieces. Take all small sharp edges off with the sander.
Step Four: Assemble Table Base
- Take the [Table Top Brace] Pieces and screw 2 pieces together (X2).
- Screw the [Table Legs] to the [Table Top Brace] (X8).
- Screw the [Table Leg Braces] to the [Table Legs] (X4).
Step Five: Prime & Paint
Prime all pieces before the final paint color. For the final color, we chose Sherwin Williams Agreeable Gray.
Step Six: Final Assembly
Screw table legs to tabletop from below. There you have it super easy!
Festive Farmhouse Entry
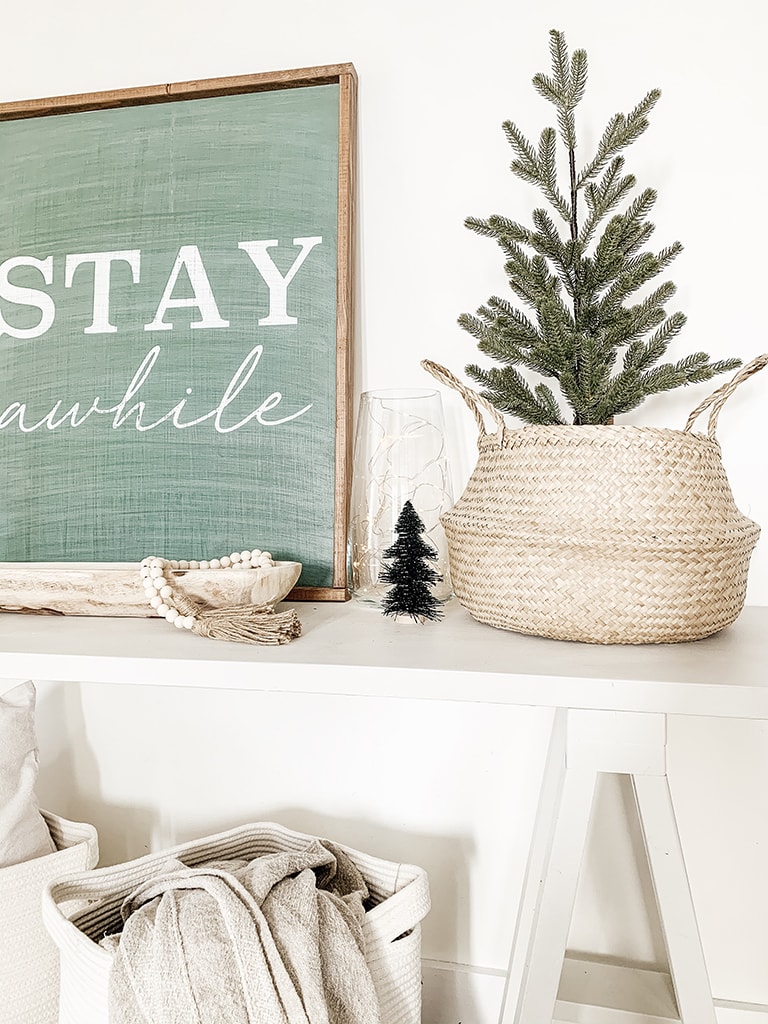
We finished our DIY console table just in time for Christmas and I was so excited to give it a little festive flair.
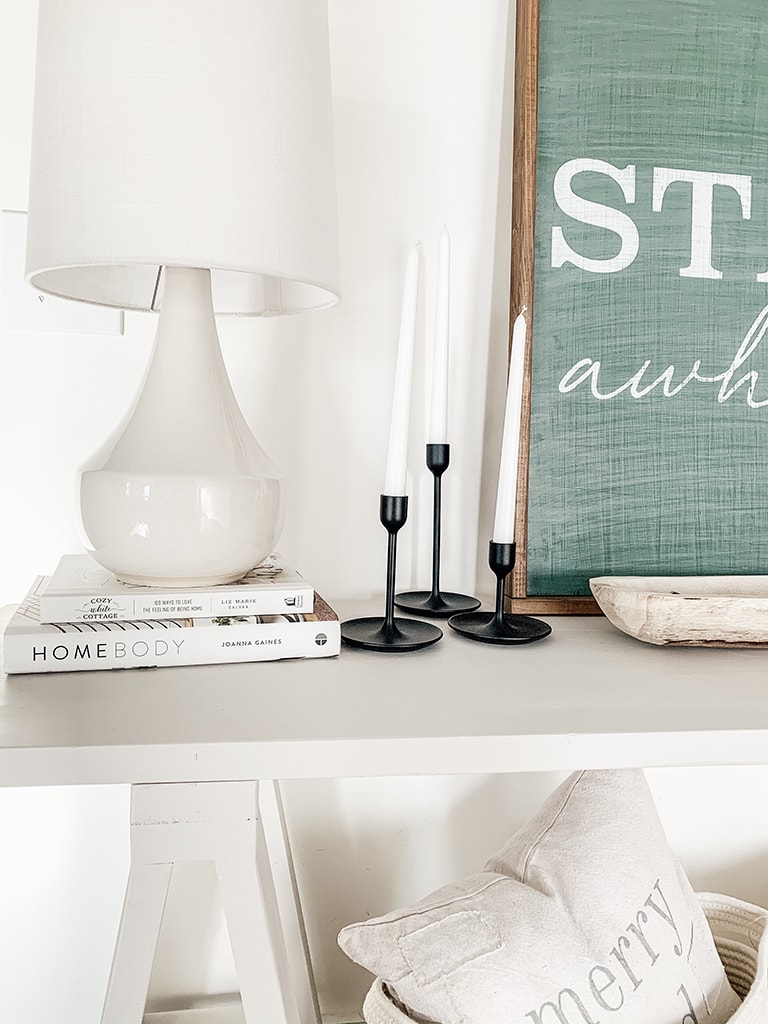
There are a few staples that I believe every entry table should have. Check out my list below. I have also provided all the links for you to shop this look.
Entry Table Must-Haves
- Large Focal Point- Mirror, Art, etc.
- Lamp
- Floral/ Greenery
- Coffee Table Books
- Bowl/ Tray
Shop This Festive Farmhouse Entryway
You can shop these items by clicking the links below!
Homebody: A Guide to Creating Spaces You Never Want to Leave Book
Large Baskets (use code MICHEALA20 for 20% off your basket order!)
Merry Pillow( use code MICHEALADIANE for 10% off your pillow order)
I hope you loved this console table DIY! This tutorial was so easy and budget-friendly. My favorite combination. Don’t forget to grab the free guide below for the full supplies list, free plans and step by step guide.
What to Read Next:
DIY Dining Room Table Makeover
DIY Farmhouse Style Drop Cloth Curtains- 2 Ways
Want to save this for later? Post this DIY Console Table to your favorite Pinterest Board!


Lynn says
Oh my word, I’ve wanted to make a side entry table, this fits the bill to a tee. As a matter of fact, I just finished painting my entryway from our garage area and needed something to fill the room again. I was thrilled to find this in my inbox, Micheala! It’s awesome. I made the ladder for my bathroom, which you know I love, so I’m sure we can do this project too. You make it all so simple to follow. You are so kind to give us all dimensions and materials needed. What a blessing you are to many. Keep those ideas coming! I adore your home and ideas. 🙂 Buying the little tree, too. Contemplating purchasing the Stay Awhile picture too. I am trying to figure out color I want, it is beautiful. Been in search for a small tree..and of all things you have it on the list to buy. Thank you so much!! And a big thank you to your hubby for making it possible to build a table like this!!