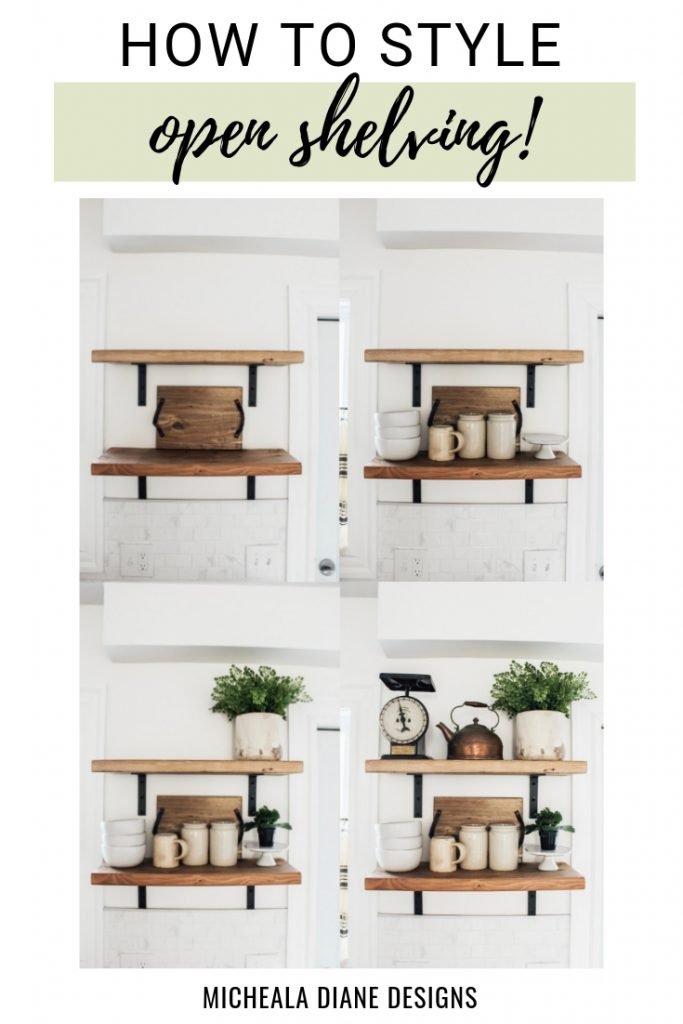
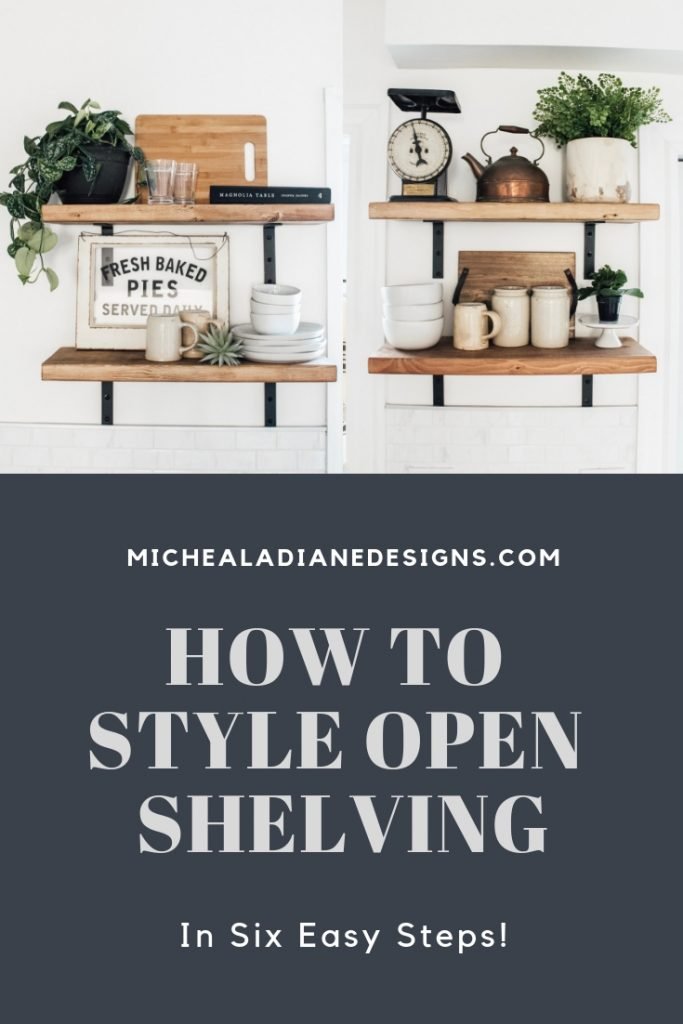
Today I am sharing how to style open shelving in 6 easy steps. Styling open shelving doesn’t have to be complicated. Follow these simple steps for the shelves in your home.
Shop The Post
“ Affiliate links provided for your convenience, please read my disclosure for more information.”
We just installed these easy DIY open shelves in our kitchen. If you missed the post, I have a step by step guide on how you can install them in your home, here. Open shelving can make a kitchen feel bigger and adds lots of personality. In our case, we had blank walls that were just asking for open shelving. Once you have them installed the fun part is styling them. This can seem like a daunting task, but if you follow these simple steps you will be able to tackle any of the shelves that you have in your home.
SIX EASY STEPS TO STYLE OPEN SHELVING
Step One: Start with a Clean Slate
The first step is to start with a clean slate. If you already have items on your shelves take everything off ( this is also the perfect opportunity to take a minute and dust off the shelves ?). This will give you a fresh start and make it easier to create a cohesive look.
Step Two: Add a Backdrop
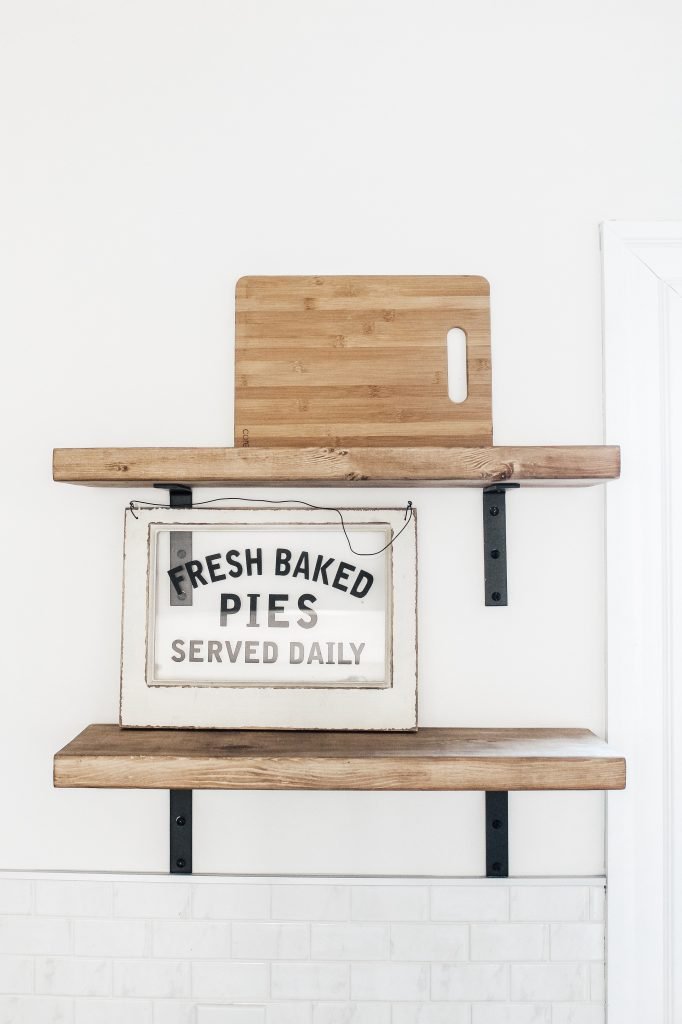
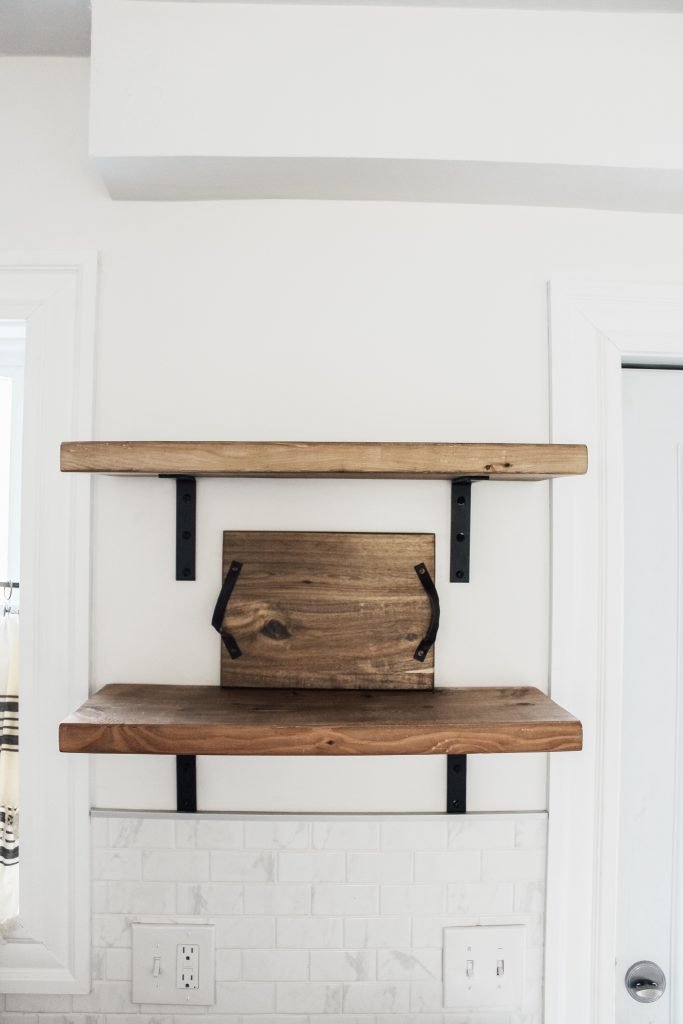
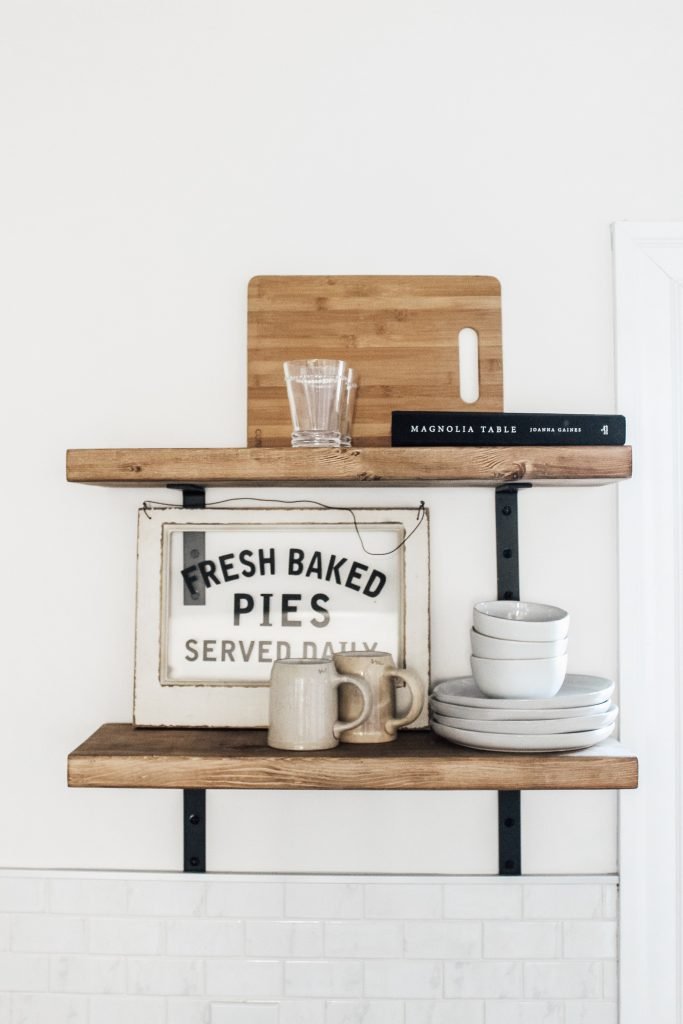
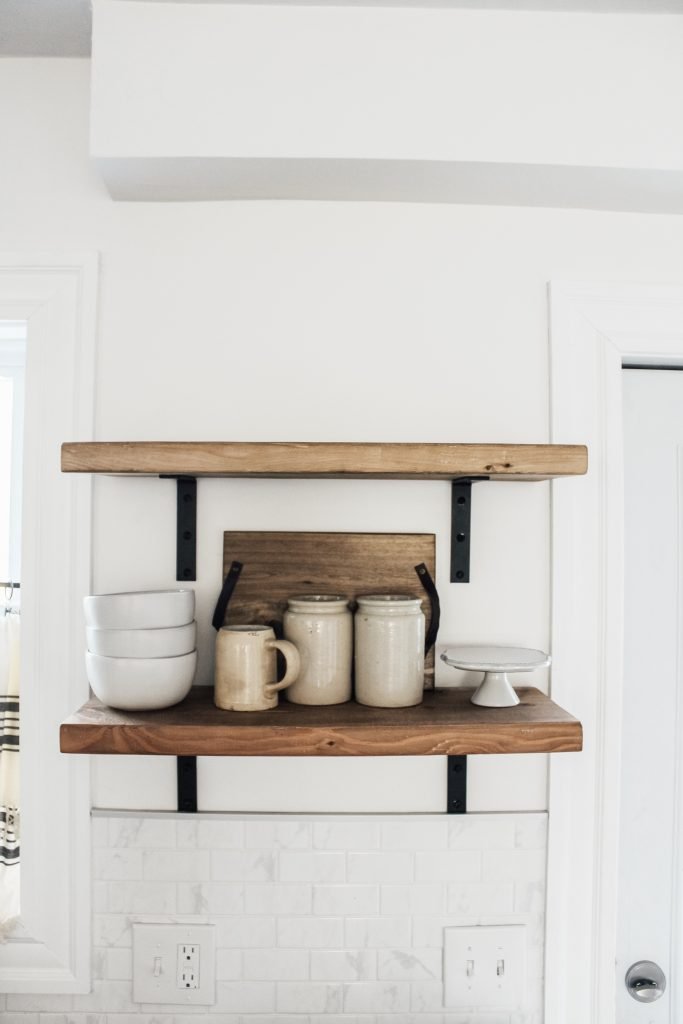
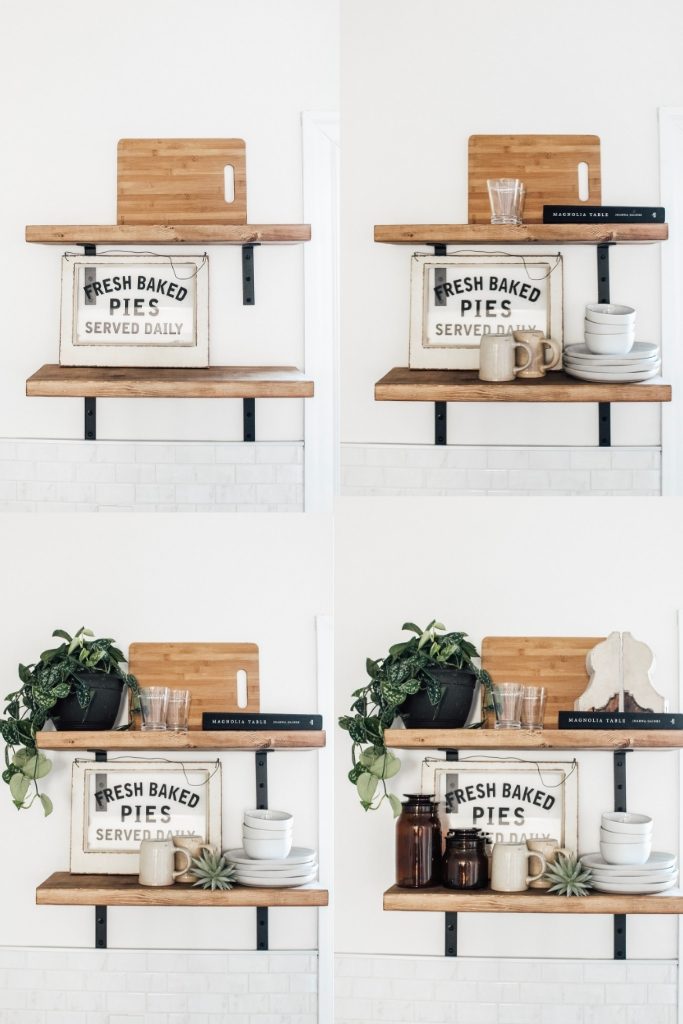
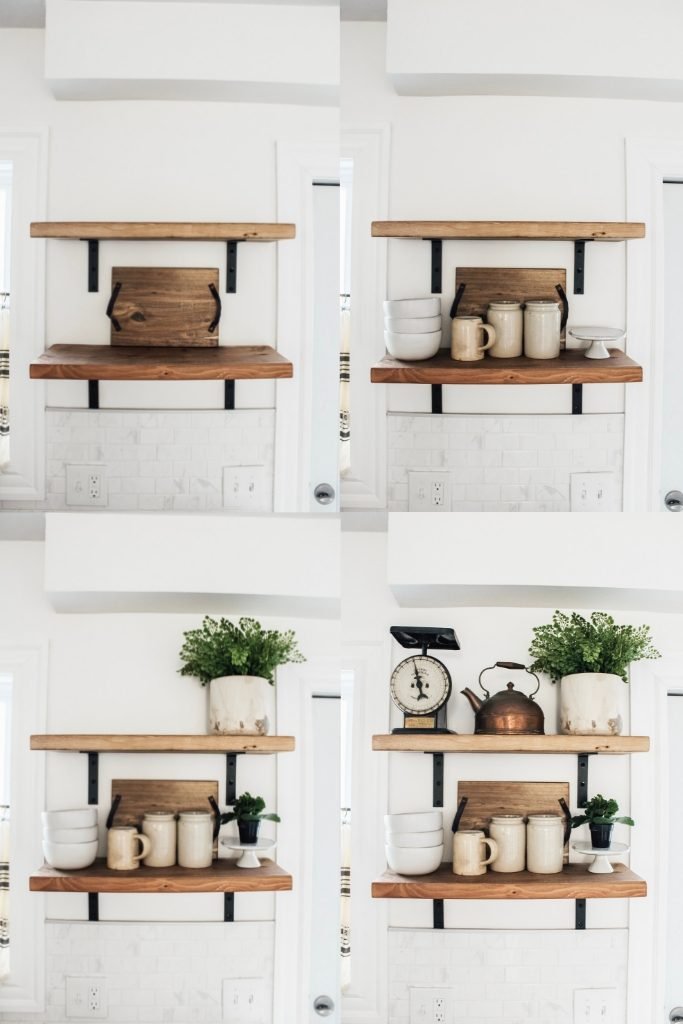
Open shelving is all about layering items that work well together. Start with a backdrop that will help fill up some the blank space. This could be an art piece, sign, clock, letter board or cutting board.
Example Shelf 1
Example Shelf 2
Step Three: Add Books
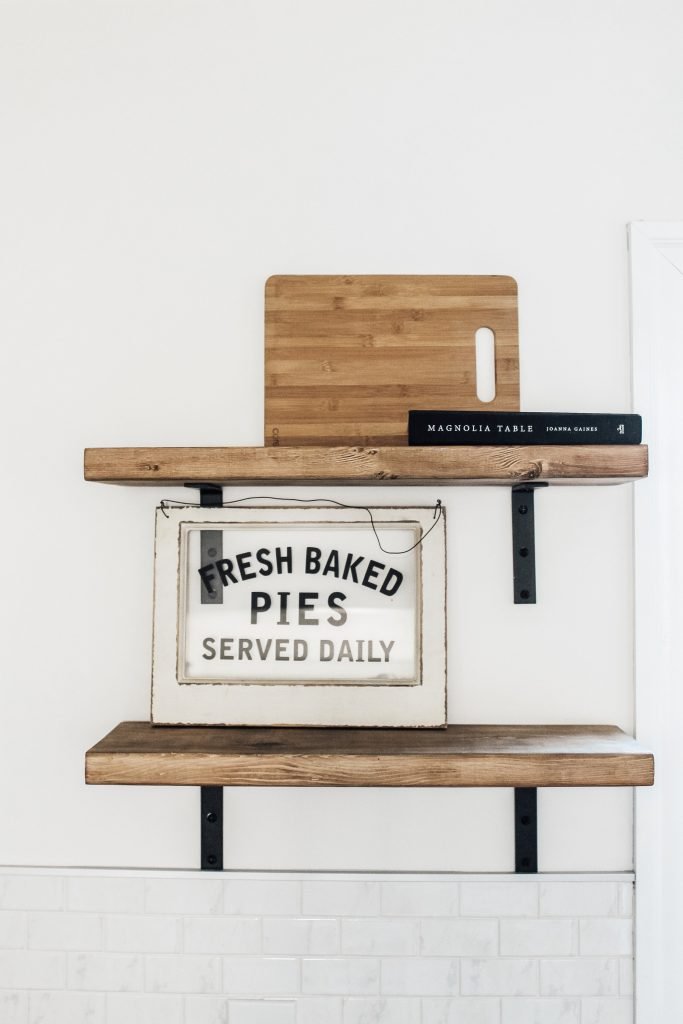
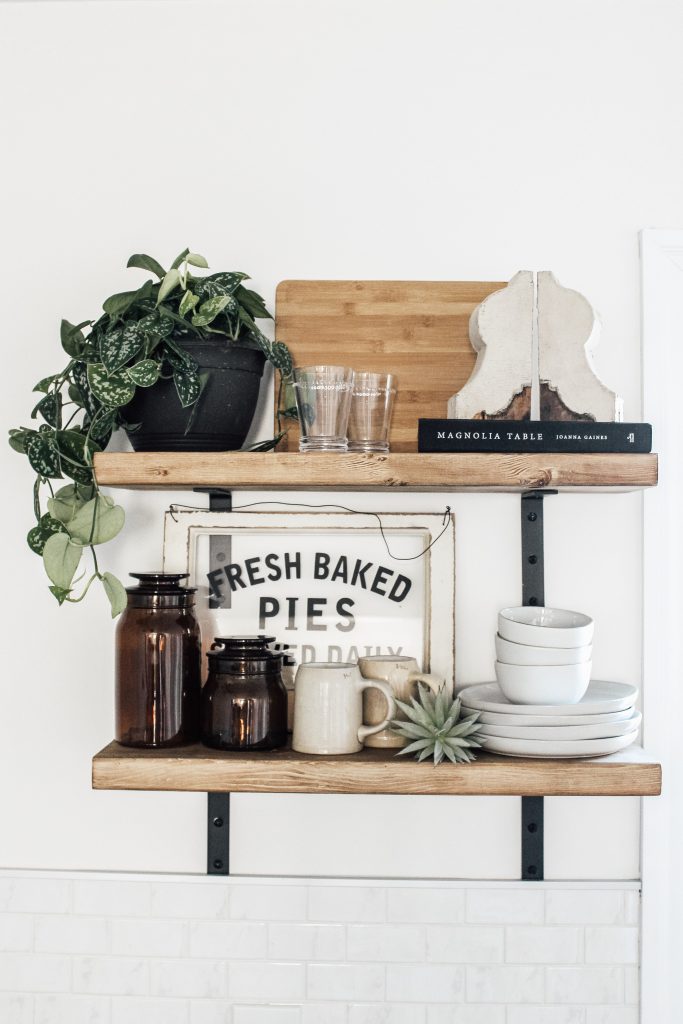
Books are another great design element that you can use to layer. This can be cookbooks, vintage books, or tabletop books. One tip is to make sure the binding matches the color scheme that you are using throughout the shelves. You can place books horizontally and stack them or you can place them vertically and use bookends. I used the Magnolia Home Cookbook on one of my shelves.
Example Shelf 1
Step Four: Add Dishes/ Bowls / Pitchers
For kitchen shelves especially, dishes are a great element to add to open shelving. They are not only pretty they are functional. If your shelves are not in the kitchen this is where you would add a wooden bowl, pitcher, canisters, and vases. The options are endless, but in general think your glass items, large items, and tall items.
Example Shelf 1
Example Shelf 2
Step Five: Add an Organic Element ?
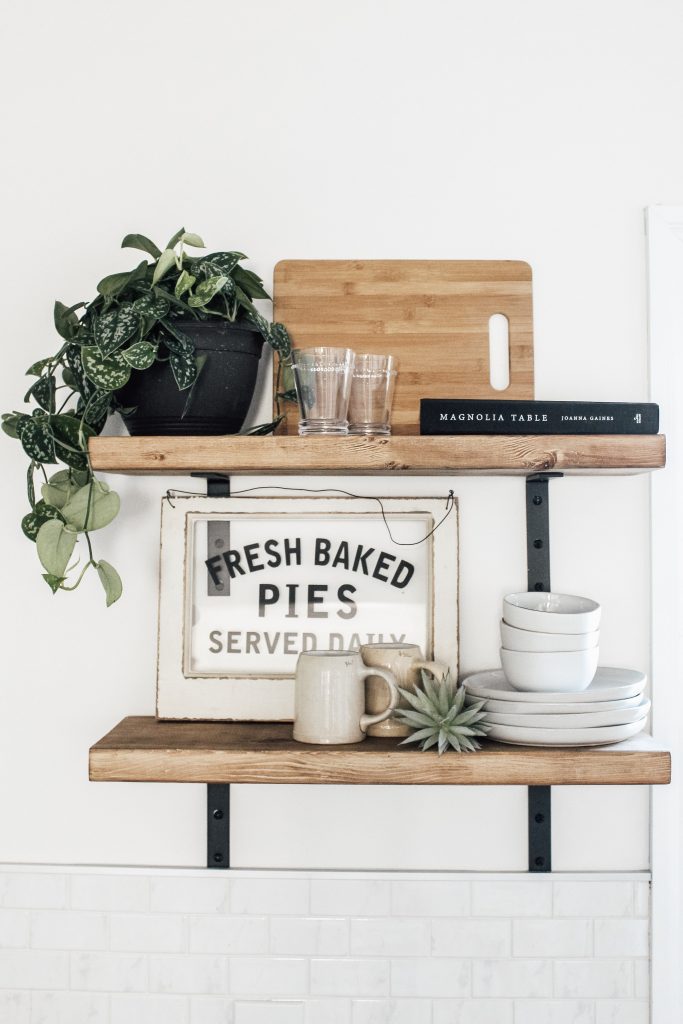
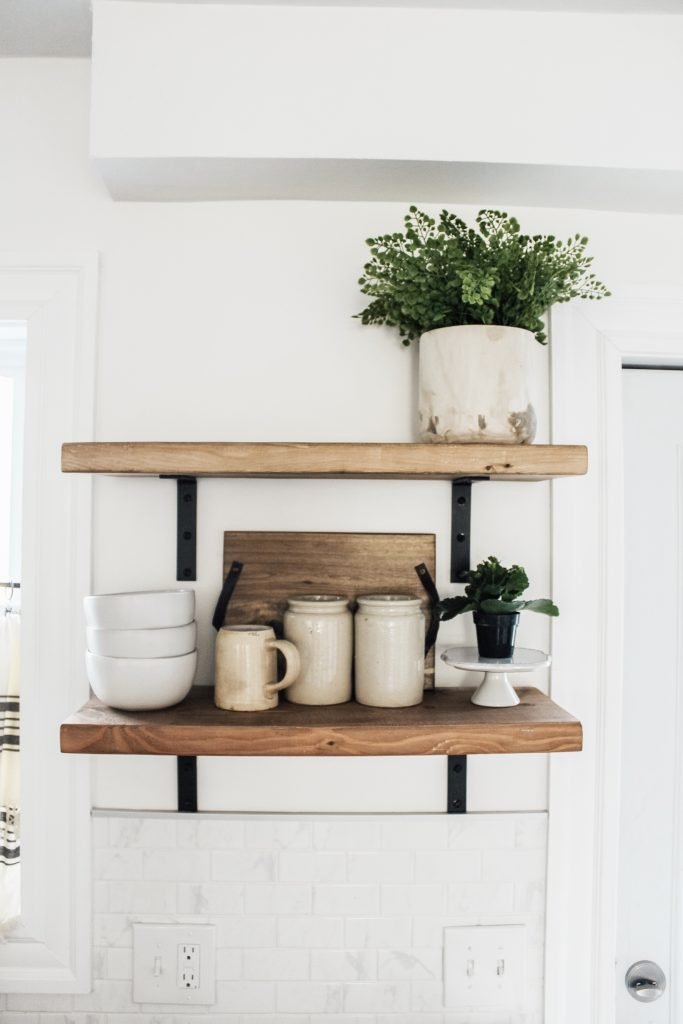
This is my favorite step because I have a little obsession with using plants in all of my spaces. I just think they are a necessary part of any design. This could be real plants, faux plant, flowers, stems, and branches. I love potted greenery and that is what I have used on my shelves. Also, think about the pots the greenery will be in. Make sure they match your overall color scheme and design. Trust me this is a step you will not want to skip. It will bring life to your open shelving!
Example Shelf 1
Example Shelf 2
Step Six: Fill the Gaps
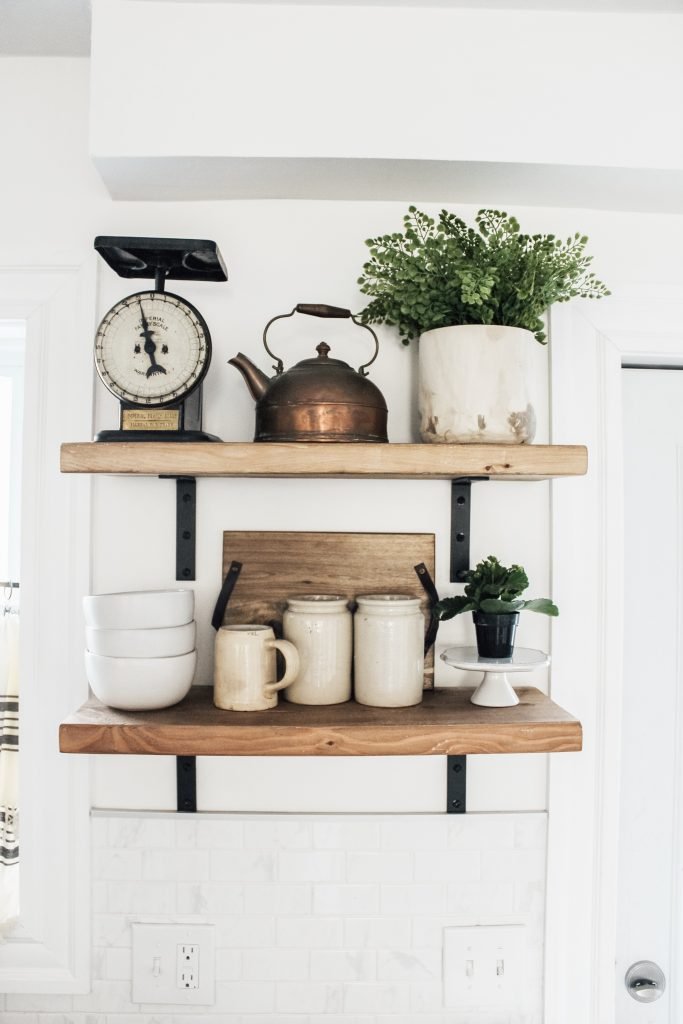
Once you have incorporated all the items listed above, you will need to fill some gaps. I love to do this with vintage finds or small filler items. For example, I used antique corbels on top of my books. I added an antique scale and copper teapot to fill larger holes. The possibilities are endless just make sure you are using items that you truly love.
See the completed shelves below!
Example Shelf 1
Example Shelf 2
Final Tips and Tricks For Styling Open Shelving
Here are a few final design tips that can be applied to any open shelving
- Create visual interest with varying heights. This is going to help balance the look of your open shelving as well as make it more pleasing to the eye.
- Use a variety of shapes. Things with clean lines like a book and rounded items like a bowl.
- Balance larger pieces with smaller pieces.
- Stick with a color scheme that works together. I’m a neutral girl, but I love adding pops of black and green.
- As you are working on each layer step back after you add each new item and make sure that it’s balanced and visual appealing. Style shelves is a process.
- Switch out your items often. This is the exciting part! As the seasons change you can add new art, greens or decor to match the season.
I hope this post inspires you to tackle the open shelving in your home with confidence.
If you missed the previous post on my kitchen makeover you can read them below!
- DIY OPEN SHELVING
- MODERN FARMHOUSE KITCHEN MAKEOVER| STYLE BOARD
- MODERN FARMHOUSE KITCHEN PENDANTS
- BEST WHITE PAINT COLORS
Want to save this for later? Post this How to Style Open Shelving In Six Easy Steps to your favorite Pinterest Board!


Gail says
I love this tutorial. Easy, logical and pretty examples.
michealadianedesigns says
Thank you so much Gail!
Finisterre says
Honestly, this might be the most helpful post on decorating advice I’ve ever read (and I have read a frankly embarrassing number).
THANK YOU for breaking down a process that seems quite mysterious, unless you have the fabled ‘eye’ for these things, and making it all seem quite logical and much less daunting for us left-brained bods.
michealadianedesigns says
Thank You!